 info@bamchocolate.com
  Login
Login 

 en
en 
 BAM Cake converter
  Login
Login Claudia
Avtorica vsebin


 Reading time:
14 minutes
Reading time:
14 minutes 
Discover what is chocolate panning and learn how to create perfectly coated confections at home. Get tips, ratios, and techniques!
Chocolate panning is the process of building multiple thin, uniform layers of chocolate around a solid centre by tumbling the pieces inside a rotating drum. Each layer is applied in small amounts, allowed to set, and then followed by the next until the desired coating thickness is achieved. The result is a smooth, evenly coated confection with a satisfying snap and clean finish.
The technique is used commercially and at home to coat centres such as almonds, raisins, hazelnuts, dried cranberries, coffee beans, biscuit pieces, and rice crisps. Coating-to-centre ratios vary by type of centre: almonds are typically coated at a 3:1 ratio, malt balls at 4:1, rice crisps at 6:1, and coffee beans at 10:1. These ratios show how the centre dictates the entire process.
Key characteristics of chocolate panning at a glance:
Not every chocolate performs equally in a panning drum. The fat content and melting point of the chocolate directly affect how smoothly it engrosses the centre and how cleanly it sets between layers.
Taste compatibility matters too. A lightly roasted almond pairs well with dark or milk chocolate, while a tart dried cherry often benefits from the sweetness of white or milk. Callebaut couvertures are widely used in professional panning for their reliable viscosity and consistent cocoa butter content, which produces a smooth, even coat. Whatever chocolate you choose, it must be properly tempered before use, or the finished surface will lack gloss and snap.
Good preparation prevents most of the problems that arise mid-batch. Skipping any of these steps tends to show up later as clumping, fat migration, or uneven coating.
Pro Tip: Pre-warming centres slightly (to around 18°C) before loading them into a cooled drum helps the first chocolate addition adhere more evenly, rather than setting too fast on cold surfaces.
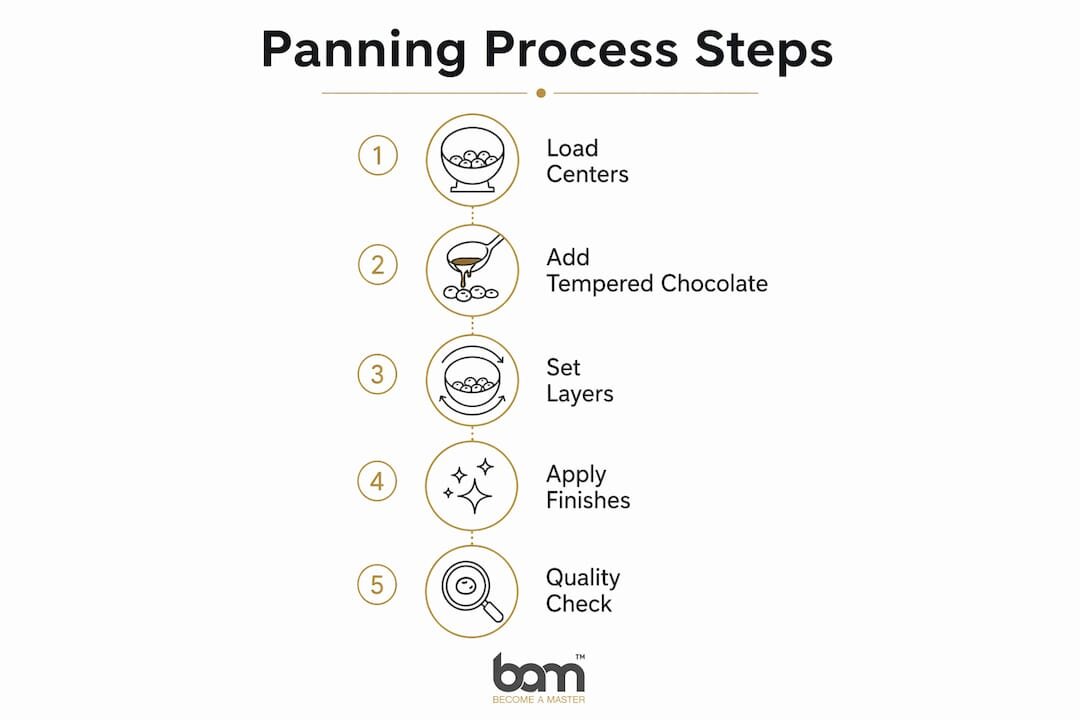
The panning process follows a clear sequence. Rushing any stage produces uneven coating, clumping, or a dull finish.
Temperature is the single most controllable variable in chocolate panning, and getting it wrong at any stage costs you the batch. The ideal cavity temperature is around 17°C, which keeps the chocolate fluid enough to coat evenly while allowing each layer to crystallise before the next addition.
Humidity is equally critical. High ambient moisture causes sugar bloom, where sugar crystals migrate to the surface and create a white, grainy appearance. Fat bloom, a separate problem caused by unstable cocoa butter crystals, is worsened by temperature fluctuations during or after panning.
Best practices for environmental control:
Once the chocolate layers are complete, finishing determines the visual appeal and shelf life of the piece. The choice of finishing agent depends on the desired look and the product’s intended use.
The finishing environment matters as much as the agent itself. Applying a polish in a humid room will cause the surface to cloud before it sets. Always finish in the same controlled conditions used for panning.
Whether you are running your first home batch or scaling up a small confectionery operation, a few consistent habits make the difference between a professional result and a frustrating one.
Pro Tip: If pieces start clumping mid-batch, increase drum speed briefly and direct more cold air into the cavity. Adding a small amount of cocoa butter to the drum can help break up minor clumps without disrupting the coating.
For creative centre ideas beyond the standard nuts and raisins, recipes by ingredient can spark useful inspiration for what works well as a panning centre.
Chocolate panning is described by confectionery professionals as both a technical discipline and a creative one. The science side covers temperature management, crystallisation, fat behaviour, and the physics of tumbling. The art side covers flavour pairing, finishing choices, and the sensory judgements that no instrument can fully replace.
Skilled panners develop an instinct for the process over time. They judge progress by the sound of the rotating drum, adjusting chocolate feed and airflow based on subtle changes in pitch and rhythm. That kind of knowledge cannot be found in a manual.
Coating-to-centre ratio in focus: coffee beans are typically coated at a 10:1 ratio, almonds at 3:1, malt balls at 4:1, and rice crisps at 6:1. The ratio you target shapes everything from flavour balance to production time.
The creative decisions, which chocolate to use, how thick to build the coat, which finishing agent to apply, and how to pair flavours, are where individual style and product identity emerge. Bamchocolate’s approach to chocolate production reflects this balance: technical precision underpins every product, but the choices that make a confection memorable are always creative ones.
Most panning problems trace back to temperature, humidity, or impatience. Knowing what to look for saves a batch before it is too late.
Clumping occurs when too much chocolate is added at once or when the drum temperature is too warm. Reduce addition amounts and increase cold airflow. If clumping is already underway, raise drum speed and add a small amount of cocoa butter to help separate the pieces.
Fat bloom (a grey, streaky surface) results from unstable cocoa butter crystals, usually caused by poorly tempered chocolate or temperature fluctuations during cooling. Prevention is the only reliable fix: temper correctly and cool slowly in a stable environment.
Sugar bloom (a white, grainy surface) is caused by moisture. It appears when humidity is too high during panning or when finished pieces are moved from a cold environment into a warm one. Always allow pieces to acclimatise gradually before packaging.
Uneven coating typically means the drum is overloaded, the chocolate is too viscous, or layers are not setting fully before the next addition. Reduce batch size, thin the chocolate slightly with cocoa butter, and extend setting time between additions.
Dull finish after polishing usually points to residual moisture in the drum or finishing agent applied in a humid environment. Dry the drum thoroughly and finish in controlled conditions.
The type of equipment you need depends on your batch size, production frequency, and budget.
Copper or stainless steel pans are the traditional choice for small-scale and artisan production. Copper conducts heat well and is easy to clean, but requires manual operation and close attention throughout the process.
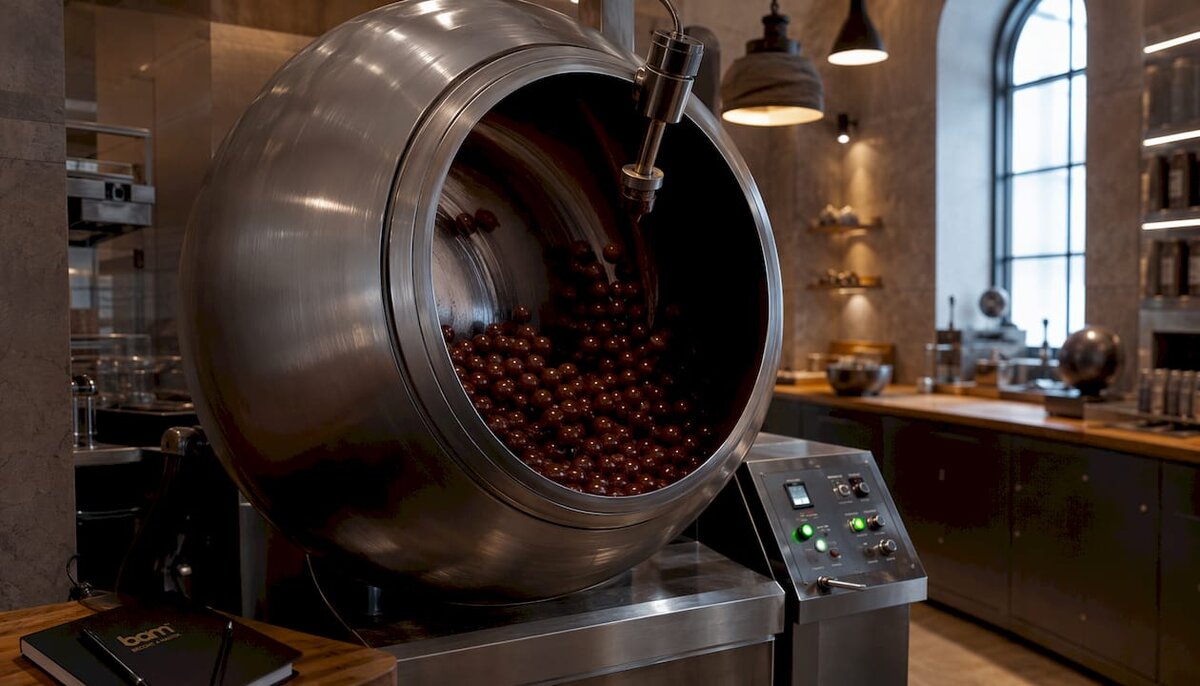
Motorised panning drums are the standard for semi-professional and commercial use. They rotate at a consistent speed and can be fitted with air inlets for temperature control. Entry-level motorised drums handle batches from 1kg to 5kg and suit small confectionery businesses or serious home producers.
Fully automated coating machines integrate temperature control, airflow management, and programmable rotation speeds into a single unit. These are used in high-volume commercial production and are not practical for home use.
When choosing equipment, prioritise air management over drum size. A smaller drum with good airflow control will consistently outperform a larger drum in a poorly ventilated space. For home use, a simple motorised drum paired with a portable dehumidifier and a reliable thermometer covers most needs without significant investment.
A finished batch should be assessed before packaging or sale. Visual and tactile checks catch most problems early.
Visual checks: look for uniform colour across all pieces, no visible bloom (fat or sugar), consistent size, and a clean surface finish with no cracks or bare patches. Hold a handful of pieces under good light and rotate them; any inconsistency in gloss or colour will show immediately.
Tactile checks: the coating should feel smooth and dry, with no tackiness. Pieces should not stick together when held in a closed hand for ten seconds. A clean snap when bitten indicates proper tempering and crystallisation.
Weight check: weigh a sample of ten pieces and compare the average against your target coating-to-centre ratio. Significant variation suggests inconsistent chocolate addition during the process.
Shelf-life check: store a small sample in the intended packaging at room temperature for one week. If bloom appears, the tempering or cooling process needs adjustment before the full batch is released.
Food safety applies to chocolate panning exactly as it does to any confectionery production. The rotating drum, the chocolate, and the centres all present hygiene considerations that cannot be overlooked.
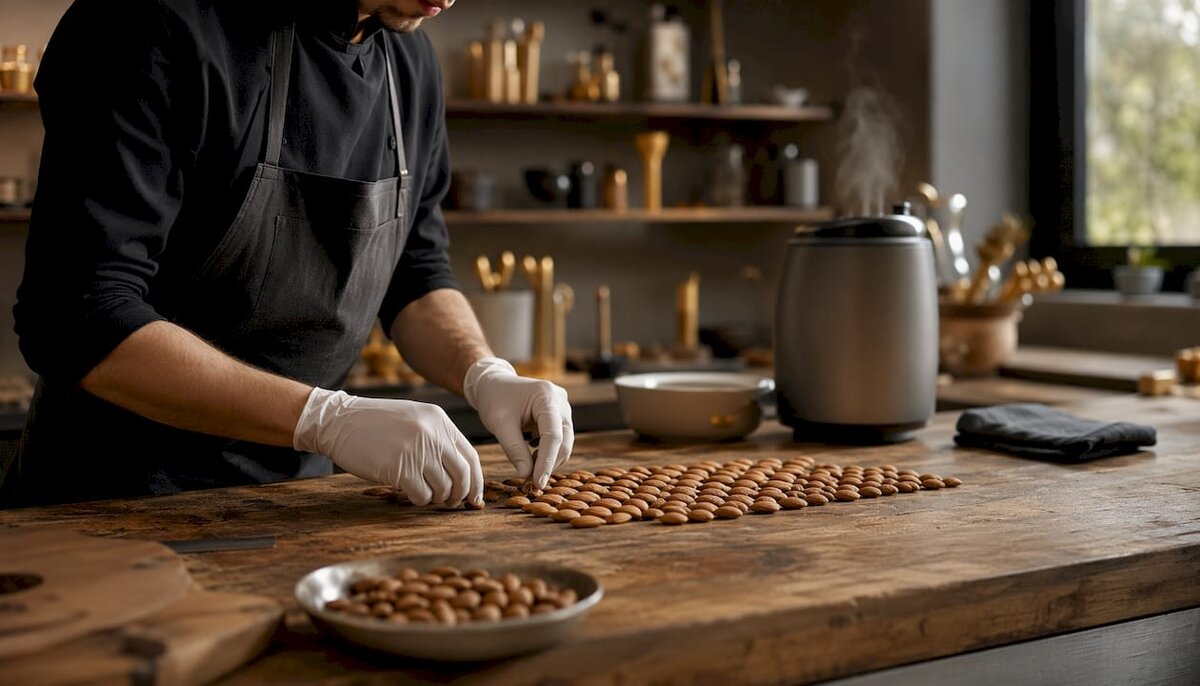
Personal hygiene: wash hands thoroughly before handling centres or chocolate. Use food-safe gloves when handling finished pieces to prevent fingerprints and contamination.
Equipment hygiene: clean the drum, air inlets, and all utensils before and after every batch. Residual chocolate left in the drum can harbour bacteria and will contaminate the next batch’s flavour and appearance.
Allergen management: nuts are among the most common panning centres and are a major allergen. If you produce both nut and nut-free products, use dedicated equipment for each, or clean and verify the drum thoroughly between batches.
Storage of ingredients: keep chocolate stored at 15°C–18°C in a dry, odour-free environment. Chocolate absorbs odours readily, and a drum stored near strong-smelling foods will transfer those flavours to the coating.
Temperature safety: melted chocolate does not reach temperatures that pose a burn risk in normal panning, but heated glazing agents and some finishing compounds can. Handle these with care and follow the manufacturer’s guidance.
Bamchocolate’s baking accessories range includes tools suited to home and small-scale panning setups, from thermometers to food-safe moulds and coating equipment.
Chocolate panning builds uniform coatings through controlled layering, and temperature management is the single factor that determines whether a batch succeeds or fails.
| Point | Details |
|---|---|
| Coating ratios vary by centre | Almonds are typically coated at 3:1, malt balls at 4:1, rice crisps at 6:1, and coffee beans at 10:1. |
| Temperature targets matter | Maintain a cavity temperature around 17°C to allow proper crystallisation between layers. |
| Seal centres before panning | Gum arabic syrup prevents fat migration from oily centres into the chocolate coating. |
| Environment beats equipment | A climate-controlled room outperforms expensive machinery in a poorly managed space. |
| Finish in controlled conditions | Humidity during polishing or glazing clouds the surface before the finish can set. |
Panning builds layers gradually by tumbling centres in a rotating drum, while enrobing coats pieces in a single or few passes through a continuous chocolate curtain. Panning produces a thicker, more uniform shell; enrobing is faster but less suited to round or irregular centres.
Milk, dark, white, and compound chocolates all work for panning. Compound chocolate is the easiest to use as it does not require tempering, while couverture chocolates like Callebaut produce a superior gloss and snap when properly tempered.
The three standard tempering methods are tabling (pouring melted chocolate onto a marble surface and working it until it cools), seeding (adding chopped tempered chocolate to melted chocolate to introduce stable crystals), and machine tempering (using a temperature-controlled unit to cycle chocolate through the correct temperature stages automatically).
Load centres into a rotating drum, add small amounts of tempered chocolate, allow each layer to set with cold dry air, repeat until the target thickness is reached, then apply gentle heat in the finishing stage to round and smooth the surface before polishing or glazing.
No. Adding oil to chocolate for panning is not recommended, as it alters the fat composition and can interfere with crystallisation and setting. If the chocolate is too thick, thin it with a small amount of cocoa butter rather than vegetable oil, which maintains the correct fat structure for a clean finish.



 Confectionery tips



 Slovenščina
 Hrvatski
 Deutsch
 Italiano
 Česky
Česky
 Polski
 Magyar
 Français
 Slovák
 Nederlands
 Español