 info@bamchocolate.com
  Login
Login 

 en
en 
 BAM Cake converter
  Login
Login Claudia
Avtorica vsebin


 Reading time:
8 minutes
Reading time:
8 minutes 
Learn how to temper chocolate like a pro at home. Achieve a glossy finish and satisfying snap with these easy techniques and essential tools.
TL;DR:
- Chocolate tempering is the process of melting and cooling chocolate to cultivate stable cocoa butter crystals, resulting in a glossy, firm finish with a satisfying snap. Using the seeding method with pre-tempered chocolate pieces is the most practical approach for home bakers, provided proper temperature control is maintained throughout. Accurate temperature monitoring and gentle reheating ensure the chocolate sets beautifully, preventing dullness or fat bloom.
Chocolate tempering is the process of melting and cooling chocolate with precise temperature control to cultivate stable cocoa butter crystals, producing a glossy, firm finish with a satisfying snap. The industry term is “tempering,” and it applies equally whether you are coating truffles, filling moulds, or dipping biscuits. Without it, chocolate sets dull, soft, and streaky. Cocoa butter crystallises in six forms, but only Type V beta crystals deliver the gloss, snap, and clean contraction that make moulded chocolates release perfectly. Mastering this technique at home is entirely achievable with the right equipment, the correct temperatures, and a reliable method.
The right equipment makes tempering far more predictable. A digital kitchen thermometer is non-negotiable. Temperature accuracy decides whether your chocolate sets beautifully or blooms grey within hours.
| Tool | Purpose |
|---|---|
| Digital thermometer | Monitors melt, cool, and working temperatures accurately |
| Double boiler or microwave | Melts chocolate gently without scorching |
| Serrated knife | Chops chocolate into fine, even pieces for seeding |
| Silicone or rubber spatula | Stirs without scratching bowls or trapping air |
| Dry, heat-resistant bowl | Prevents moisture contamination during melting |
Couverture chocolate with at least 31% cocoa butter is the correct choice for tempering. Standard supermarket baking chocolate contains fillers and lower cocoa butter levels that prevent proper crystallisation. The higher the cocoa butter content, the more fluid and workable the melted chocolate becomes, and the more reliably it tempers. Bamchocolate stocks quality couverture options suited to home tempering projects.
Moisture is the enemy of tempered chocolate. Use completely dry bowls, spatulas, and moulds. Even a single drop of water causes the chocolate to seize, turning it grainy and unusable for confectionery work.
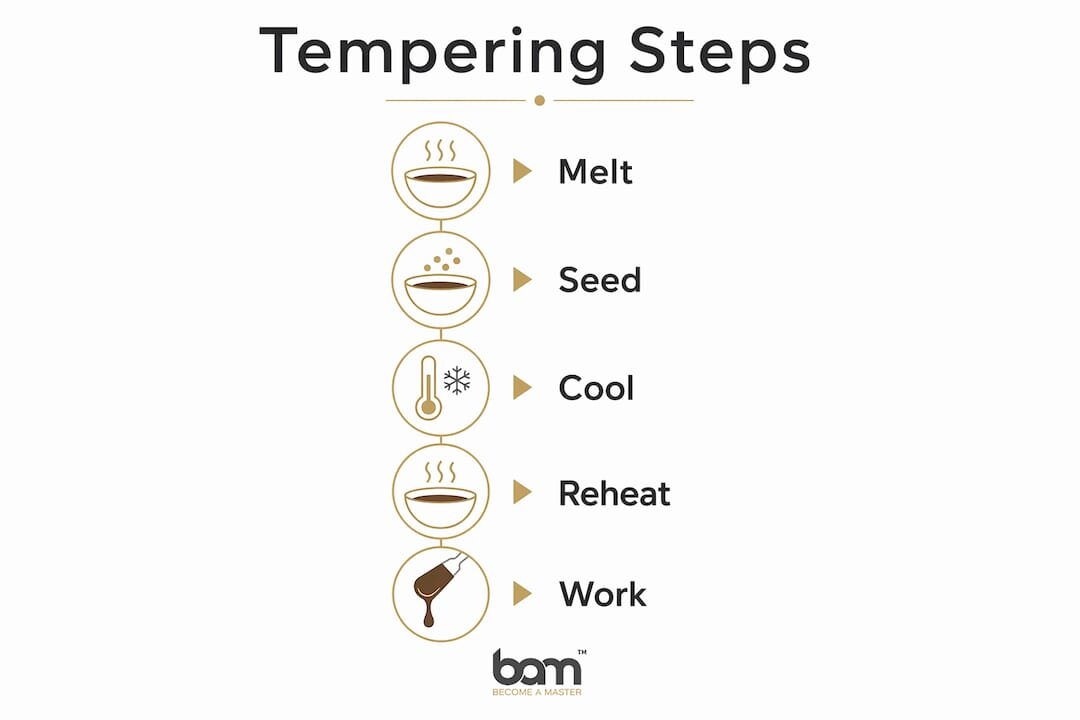
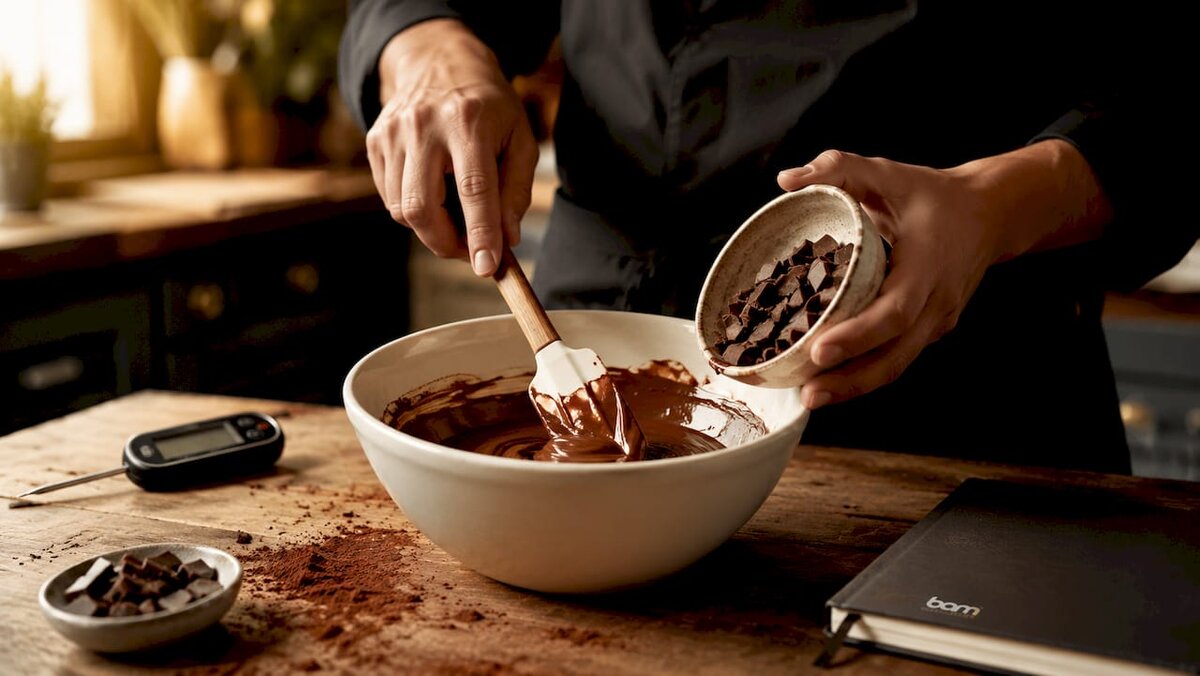
The seeding method is the most practical chocolate tempering method for home bakers. It requires no marble slab and no specialist equipment beyond a thermometer. Seeding uses pre-tempered chocolate pieces containing stable Type V beta crystals as templates, guiding the melted bulk to form the same stable crystal structure.
Before you begin, know your target temperatures. Each chocolate type behaves differently because of its milk solids and sugar content.
| Chocolate type | Melt to | Cool to | Working temperature |
|---|---|---|---|
| Dark | 45–50°C | 27–28°C | 31–32°C |
| Milk | 40–45°C | 26–27°C | 29–30°C |
| White | 38–42°C | 25–26°C | 28–29°C |
Pro Tip: Keep your seed chocolate in the fridge until the moment you add it. Cold seed pieces cool the melted mass more efficiently, giving you better control over the crystallisation temperature.
Tempered chocolate has a narrow working window. Once you reach the correct working temperature, you need to keep it there throughout your moulding or coating session.
The most reliable method is a warm water bath set to 32–33°C. Place your bowl of tempered chocolate over it and stir occasionally. Continuous gentle warming at 90–95°F (32–35°C) preserves the temper for extended work periods. Check the temperature every few minutes with your thermometer.
Pro Tip: If your chocolate starts to thicken during work, stir in a few grams of fresh seed chocolate and check the temperature. This often recovers the temper without starting over.
Signs of lost temper are easy to spot: the chocolate looks dull rather than glossy, it thickens noticeably, or it develops a grey streaky appearance called fat bloom. Fat bloom is harmless to eat but signals that the cocoa butter has separated and re-solidified outside the Type V crystal structure. You can read more about tempering without a thermometer if you want to practise reading the chocolate’s behaviour by feel and appearance alone.
The seeding method suits most home bakers, but two other approaches are worth knowing.
Microwave tempering works on the same principle as seeding but uses the microwave for both melting and controlled cooling. Melt all the chocolate in short 20-second bursts at 50% power, stirring thoroughly between each. Stop when about 75% of the chocolate has melted and stir the residual pieces in. The unmelted pieces act as seed crystals. Check the temperature frequently. This method is faster but less forgiving because microwave heat is uneven.
Mycryo® is a powdered cocoa butter product that contains pre-crystallised Type V beta crystals. You melt your chocolate fully, cool it to just above working temperature, then stir in 1% of the chocolate’s weight in Mycryo®. The powder seeds the mass with stable crystals without requiring you to chop and reserve seed chocolate. This method is popular with home bakers who want consistent results with minimal fuss.
| Method | Equipment needed | Main advantage | Main challenge |
|---|---|---|---|
| Seeding | Thermometer, double boiler | Reliable, no specialist ingredients | Requires careful temperature monitoring |
| Microwave | Thermometer, microwave | Fast and simple setup | Uneven heat, easy to overshoot |
| Mycryo® (silk) | Thermometer, Mycryo® powder | Consistent results, easy to control | Requires sourcing specialist ingredient |
The smear test remains the most practical verification for all three methods. A glossy, firm result within 3–5 minutes confirms success. A tacky or streaky result means re-tempering is needed. For a deeper look at the full process, the Bamchocolate tempering guide covers additional techniques and tips.
Successful chocolate tempering depends on reaching precise temperature targets for each chocolate type, seeding with stable Type V crystals, and maintaining the working temperature throughout your session.
| Point | Details |
|---|---|
| Use couverture chocolate | Choose chocolate with at least 31% cocoa butter for reliable crystallisation. |
| Follow temperature targets | Melt, cool, and reheat to specific ranges for dark, milk, and white chocolate. |
| Seed for crystal stability | Add pre-tempered pieces to guide the melted mass into a stable Type V structure. |
| Maintain working temperature | Use a warm water bath at 32–33°C to keep temper during moulding or coating. |
| Verify with the smear test | Glossy, firm chocolate within 3–5 minutes at room temperature confirms correct temper. |
The first time I tempered chocolate properly, I was convinced I had done something wrong. The chocolate looked almost too shiny, too perfect. That is exactly how it should look.
The biggest mistake beginners make is rushing the cooling stage. They add the seed chocolate and immediately try to use the mass before it has dropped to the correct temperature. Crystallisation needs time and consistent stirring. Patience at this stage is what separates glossy, snappy results from soft, streaky ones.
High-quality chocolate makes a genuine difference. I have tried tempering with lower-grade baking chocolate and the results are inconsistent at best. The cocoa butter content is simply too low to form a reliable crystal network. Spending a little more on proper couverture pays back immediately in results. If you are making chocolate pralines or moulded confections, the quality of your chocolate is the single biggest variable you control.
My honest advice: do not skip the smear test. Every time. Even after years of practice, I still check. The test takes 30 seconds and saves you from pouring untempered chocolate into an entire tray of moulds.
— Andraz
Getting the technique right is only part of the picture. Having the right tools makes every tempering session more consistent and less stressful. Bamchocolate’s baking accessories range includes thermometers, spatulas, and moulds selected for confectionery and chocolate work. Each product is suited to the temperature ranges and handling requirements that tempering demands. Whether you are starting out or refining your technique, the right accessories reduce errors and improve your results from the first session. The BAM Basic pastry package is a practical starting point for home bakers who want a curated set of tools for chocolate projects.
Chocolate tempering is the process of melting and cooling chocolate to specific temperatures to form stable Type V cocoa butter crystals. These crystals give chocolate its gloss, snap, and firm set.
Dark chocolate should be melted to 45–50°C, cooled to 27–28°C during seeding, then reheated to a working temperature of 31–32°C.
Dull or streaky chocolate indicates fat bloom, which means the cocoa butter crystallised outside the stable Type V structure. This happens when temperature targets are missed or moisture enters the chocolate.
Tempering without a thermometer is possible using visual and tactile cues, but a thermometer produces far more consistent results. The smear test helps verify success regardless of method.
The seeding method involves adding finely chopped pre-tempered chocolate to melted chocolate. The seed pieces contain stable beta crystals that guide the entire mass to crystallise correctly.



 Confectionery tips



 Slovenščina
 Hrvatski
 Deutsch
 Italiano
 Česky
Česky
 Polski
 Magyar
 Français
 Slovák
 Nederlands
 Español