 info@bamchocolate.com
 Login


 en

 BAM Cake converter
 Login
Claudia
Avtorica vsebin


 Reading time:
15 minutes
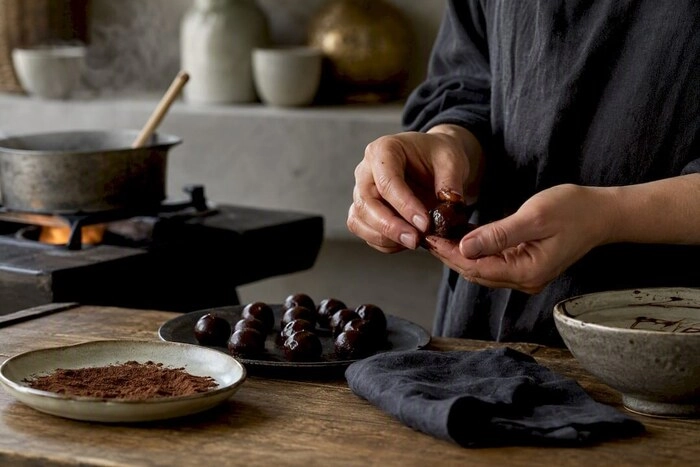
Master the art of gourmet truffle making with this detailed guide. Discover recipes, techniques, and ratios for perfect treats at home!
Heat 100g double cream (35%+ butterfat) until it just steams, no boiling. Pour over the chocolate, wait 60 seconds, then stir from the centre outward until glossy. Rest at room temperature 10 minutes, then chill 1 to 2 hours until firm enough to scoop. That 2:1 chocolate-to-cream ratio, a ratio confirmed by professional guidance on gourmet truffle technique, gives you a ganache firm enough to roll by hand but still soft on the tongue.
This batch yields roughly 20 to 24 truffles, close to the 24-truffle yield from a classic small-batch method using the same rough proportions. Active time is about 20 minutes; the rest is chilling.
Verdict: rolled in cocoa, this ganache needs no tempering and forgives a shaky first attempt. Dip it in tempered chocolate instead, and you get the crisp, glossy shell that separates a home truffle from a gourmet one, but only if your tempering technique holds up. This gourmet truffle making guide covers both routes, plus every place a batch tends to go wrong.
Gourmet truffles at home come down to three controllable variables: the chocolate-to-cream ratio, gentle heat control, and correct tempering temperature for the coating.
| Point | Details |
|---|---|
| Ratio controls texture | Use a higher chocolate-to-cream ratio for classic rolled truffles and a balanced ratio for softer piped centres. |
| Heat gently, never boil | Warm cream to steaming, around 80 to 85°C, to avoid scalding the chocolate. |
| Chill in two stages | Set the ganache 1 to 2 hours, then chill scooped mounds another 20 to 30 minutes before rolling. |
| Temper for glossy shells | Use the seed method and hit 31 to 32°C for dark chocolate to get a stable, glossy finish. |
| Source quality ingredients | Bamchocolate’s baking accessories and confectionery bundles cover the couverture, scales, and tools this guide recommends. |
Good truffles start with a short shopping list, but the quality of each item matters more than the quantity. Buy block chocolate rather than chocolate chips. Chips contain stabilisers that resist melting smoothly, which leaves a grainy ganache no amount of stirring will fix, a point backed by Simply Recipes’ chocolate selection advice.
Core ingredients (makes 20 to 24 truffles):
Swap double cream for full-fat coconut cream if you need a dairy-free version, though the ganache will set slightly softer. Butter is optional but worth adding: a small amount smooths the mouthfeel without shifting the ratio much.
Equipment checklist:
Cream with higher butterfat emulsifies more reliably and produces a richer set. Couverture chocolate, which carries more cocoa butter than standard baking bars, melts and tempers more predictably than everyday eating chocolate, according to technique guidance from CandiesAndSweets.
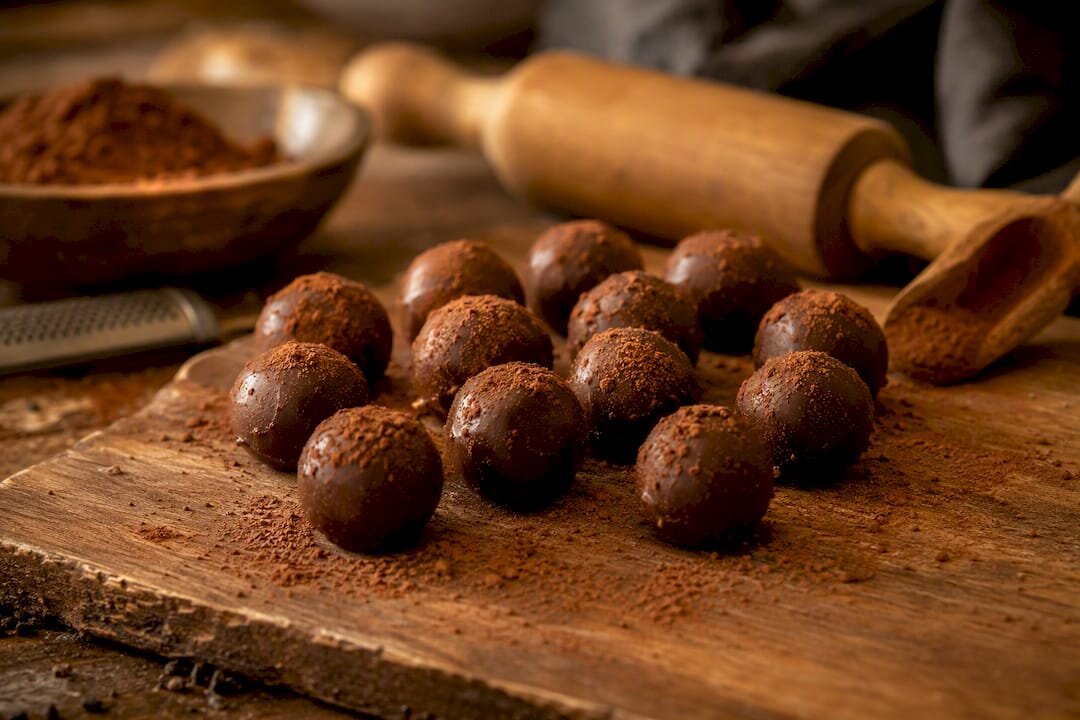
Ganache is simply chocolate and cream emulsified together, but the ratio between them decides everything about how your truffle behaves. Push more chocolate into the mix and you get a firmer, more sliceable centre suited to rolling and coating. Push more cream in and you get a soft, almost spoonable filling better suited to piping into shells or serving loose.
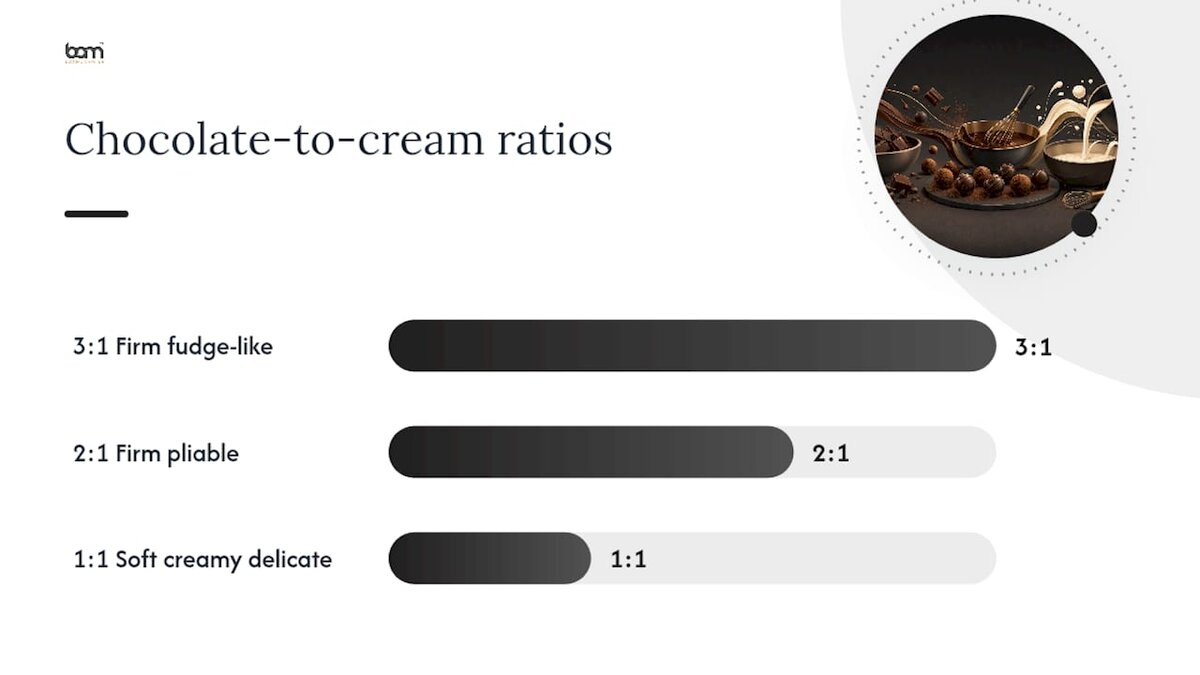
A 2:1 chocolate-to-cream ratio by weight is the workhorse for rolled truffles, producing a ganache firm enough to scoop and shape without melting in your hands. 1:1 gives a much softer, creamier centre that’s harder to roll but wonderful piped into moulded shells. 3:1 verges on a fudge-like paste, useful for shaping into precise cubes or for coatings that need extra structural rigidity.
| Ratio (chocolate:cream) | Texture | Best use |
|---|---|---|
| 3:1 | Firm, dense, fudge-like | Precision shapes, high heat environments |
| 2:1 | Firm but pliable | Classic rolled truffles, hand shaping |
| 1:1 | Soft, creamy, delicate | Piped centres, moulded shells |
Cacao percentage matters as much as the ratio. Aim for 60 to 70% cocoa solids for dark truffles; Simply Recipes’ guidance on homemade chocolate truffles recommends staying within that band rather than reaching for 85% bars, which contain so little sugar and fat that the ganache seizes or turns bitter and dry.
Milk and white chocolate need adjustment because they carry more sugar and, in white chocolate’s case, more cocoa butter and no cocoa solids at all. As a rule:
For a white chocolate batch, our dedicated white chocolate guide walks through the ratio adjustment in more detail.
Making ganache is a five-stage process, and the order matters more than the ingredients themselves.
Once the ganache turns glossy and uniform, stir in butter, salt, or spirits, then let it rest at room temperature for 10 minutes before transferring to the fridge. A stepwise method from MIT’s chocolate-making handout follows this same sequence: heat, infuse, combine, then chill to set.
Pro Tip: If you’re adding a liqueur like Grand Marnier or a coffee extract, stir it in after the ganache has cooled slightly, not while the cream is still hot. Alcohol added too early can evaporate off some of its flavour and thin the mixture more than expected.
If your ganache splits or turns grainy, here’s what to check first:
Fix a split ganache by warming it gently over a double boiler and whisking in a tablespoon of warm cream, a small amount at a time, until it re-emulsifies. Our guide to versatile chocolate ganache covers more ganache troubleshooting if you want the fuller picture.
Chill freshly made ganache in the fridge for 1 to 2 hours, the timeline confirmed by both the New York Times’ truffle recipe and professional technique guides. That’s usually enough for a 2:1 ratio to firm up without turning too hard to scoop. Softer 1:1 ganache can need closer to 2 hours or a short 15-minute stint in the freezer if your kitchen runs warm.
Once chilled, portion with a small melon baller or portion scoop rather than a spoon. Aim for 10 to 12g per truffle, a two-bite size that’s easy to coat evenly. Scooping by weight rather than eyeballing keeps every truffle in the batch roughly the same size, which matters more than it sounds. Uneven truffles chill and coat at different rates, so some end up under-set while others turn tacky.
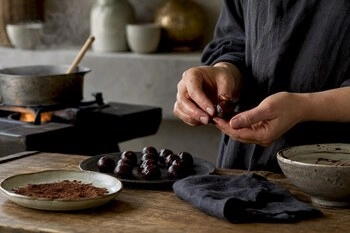
Here’s the trick that solves most sticky-hands problems: scoop the ganache into rough mounds on a lined tray, then chill those mounds for another 20 to 30 minutes before rolling into smooth spheres. Sally’s Baking Addiction calls this the fix for sticky rolling situations, and it works because the ganache firms slightly at the surface, giving your hands something to work with instead of a smear.
If you’d rather skip freehand rolling altogether, silicone moulds give a cleaner, more consistent finish. Our guide on shaping chocolate pralines like the top masters has more on mould-based shaping if you want to move beyond hand-rolled spheres.
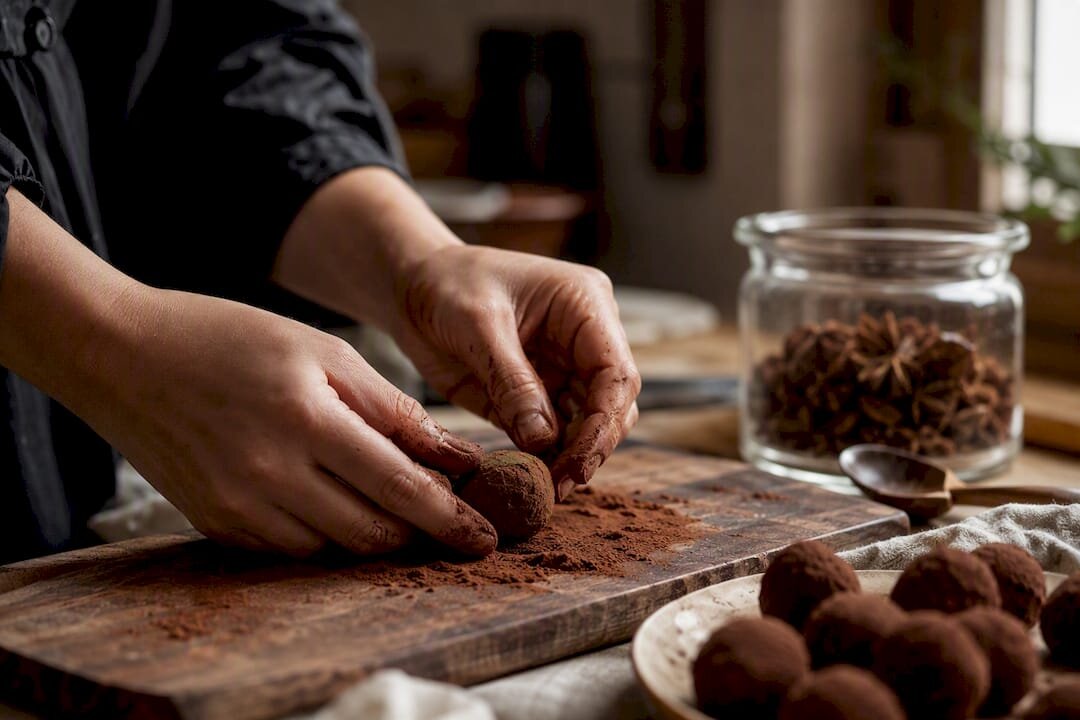
Rolling in a dry coating is the faster, more forgiving route. Cocoa powder, finely crushed nuts, crushed biscuit crumbs, or desiccated coconut all work, and none require tempering. Roll the chilled ganache ball in your chosen coating immediately after shaping, while it’s still slightly tacky, so the coating adheres properly.
Dipping in tempered chocolate is the technique that separates a rustic truffle from a gourmet one, giving you the thin, glossy, snap-when-you-bite shell you’d expect from a confectioner. Tempering forces cocoa butter into a stable crystal structure, and the seed method is the most reliable way to do this at home.
The seed method, step by step:
Dipping workflow:
Pro Tip: Keep your tempered chocolate on a heating pad set to low, or over a bowl of warm water at arm’s length, while you work through a batch. Tempered chocolate that drops below its working range even briefly can fall out of temper, and you’ll be back at step one of the seed method.
Correctly tempered dark chocolate holds its temper for roughly 20 to 30 minutes of working time before it needs reheating, which is why professional dippers work in small, quick batches rather than one long session. If tempering with a thermometer feels like too much kit for a first attempt, our guide on tempering chocolate without a thermometer offers a simpler visual method to start with.
Flavour should support the ganache’s structure, not fight it. The safest additions are infusions, since they change the cream’s flavour before it ever meets the chocolate, leaving the ratio untouched.
By chocolate type:
Dosing guidelines for a 200g ganache batch:
Oil-based flavourings need particular care. A drop too many can throw off the fat balance and thin the ganache unpredictably, an issue flagged in Dolce Foglia’s masterclass on custom flavours, which recommends oil-soluble flavours only in small, tested doses. Alcohol lowers a ganache’s melting point slightly, so batches with a generous spirit measure may need a longer chill before they hold their shape. If you enjoy experimenting with unexpected pairings, Emberk’s chocolate-infused mushroom coffee recipe is a good example of how far infusion technique can stretch beyond the classic combinations.
Most truffle failures trace back to one of four causes: heat, ratio, moisture, or timing. Here’s how to diagnose and fix each one.
| Problem | Likely cause | Fix |
|---|---|---|
| Grainy texture | Chocolate scalded by cream that was too hot, or chocolate chips used | Rewarm gently, whisk in a little warm cream to smooth |
| Split or oily-looking ganache | Overheated or stirred too aggressively | Whisk in warm cream a tablespoon at a time over low heat |
| Too soft to roll | Cream ratio too high, or under-chilled | Increase chill time; add a small amount of melted chocolate |
| Too hard to scoop | Over-chilled, or chocolate percentage too high | Rest at room temperature 10 to 15 minutes before scooping |
| Grey or white bloom on coating | Poor tempering, or temperature swings in storage | Retemper using the seed method; store at stable, cool temperature |
Quick diagnostic checklist:
Prevention beats correction every time. Keep bowls and tools completely dry, since a single drop of water can seize melted chocolate instantly, and store finished truffles at a stable, cool temperature to avoid the bloom that comes from swings in humidity or heat, a risk noted in CandiesAndSweets’ storage advice.
Finished truffles keep well in the fridge for up to two weeks in an airtight container, and up to six months in the freezer, timelines confirmed by Simply Recipes’ storage guidance. Serve them at room temperature; straight from the fridge, the ganache centre is noticeably firmer and less aromatic than it should be.
For make-ahead planning, prepare the ganache up to three days in advance and keep it chilled, uncut. Scoop, roll, and coat on the day you plan to serve or gift them; freshly finished coatings look and taste better than ones that have sat in the fridge for days.
Gifting and short-distance packing tips:
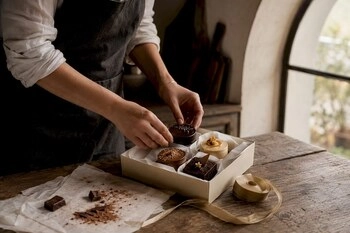
A presentation box from Bamchocolate’s gift corner or a surprise box makes gifting straightforward if you’d rather not source packaging yourself.
The single biggest quality lever in this whole process is the chocolate itself, and it’s worth understanding the distinction before you shop. Couverture chocolate contains a higher percentage of cocoa butter than standard compound chocolate, which is why it melts more smoothly and tempers more predictably, a distinction that CandiesAndSweets’ technique guide treats as foundational to consistent results.
Shopping checklist:
For readers building a proper truffle kit from scratch, Bamchocolate’s baking accessories range covers the scales, thermometers, and scoops this guide references throughout, and the basic confectionery bundle pairs core tools with ingredients in a single order. For readers who want to understand what separates couverture from everyday chocolate before buying, our piece on the secrets of chocolate making is worth reading first.
I once spent three batches fighting a grainy ganache before realising my cream was boiling, not steaming. Slowing the heat fixed it instantly. That’s the pattern with truffles: small, specific corrections, not talent, get you to gourmet results. Follow the ratios and temperatures here, expect one imperfect batch, and the second will look professional.
Sourcing couverture chocolate, a reliable thermometer, and proper scoops separately is where most first attempts stall before they even start. Bamchocolate solves that in one order rather than three: the basic confectionery bundle pairs starter-grade tools with quality ingredients, so you’re not guessing whether your cream’s butterfat or your bar’s cocoa percentage will actually work for ganache. For readers experimenting with flavour beyond the classics covered here, the confectionery set with creamy fillings gives you tested combinations rather than trial and error, and a set of disposable baking gloves solves the sticky-hands problem this guide walks through in the shaping section. Browse the baking accessories range and pick up the thermometer and scoop your next batch actually needs.
Use 2:1 chocolate to cream by weight for classic rolled truffles, and 1:1 for a softer, creamier centre suited to piping into moulds.
A thermometer makes tempering more reliable, but Bamchocolate’s guide to tempering without one offers a visual test if you’re starting out.
Chill for 1 to 2 hours until firm enough to scoop, then chill the scooped mounds a further 20 to 30 minutes to make rolling easier.
Yes. Rolling chilled ganache in cocoa powder, crushed nuts, or biscuit crumbs needs no tempering and is the more forgiving option for a first attempt.
Truffles keep up to two weeks refrigerated in an airtight container, or up to six months frozen, then should be served at room temperature.
Grainy or split ganache usually means the cream was overheated or you used chocolate chips instead of block chocolate; rewarm gently and whisk in a little warm cream to fix it.


 Confectionery tips


 Slovenščina
 Hrvatski
 Deutsch
 Italiano
 Česky
 Polski
 Magyar
 Français
 Slovák
 Nederlands
 Español