 info@bamchocolate.com
 Login


 en

 BAM Cake converter
 Login
Claudia
Avtorica vsebin


 Reading time:
10 minutes

Master gourmet brownie baking with our tested guide. Learn the perfect fat-to-flour ratio and professional techniques for rich, fudgy results.
The single most reliable method for gourmet brownies is a 4:1 fat-to-flour ratio combined with both melted chocolate and cocoa powder. That ratio gives you the dense, fudgy centre that separates a gourmet bake from a standard tray bake.
The single-line method:
Professional bakers consistently converge on this approach: higher fat and sugar ratios, careful mixing, and the chocolate-plus-cocoa combination. Bamchocolate stocks the premium ingredients this method depends on.
A 4:1 fat-to-flour ratio, combined with the whip-emulsify-fold method and a minimum one-hour chill, produces reliably gourmet brownies at home.
| Point | Details |
|---|---|
| Fat-to-flour ratio | Use approximately 4:1 (e.g. 300 g fat to 50 g flour) for a fudgy result. |
| Whip eggs and sugar | Whip to ribbon stage to dissolve sugar and create the crackly top. |
| Emulsify carefully | Stream warm chocolate into eggs slowly; curdled batter cannot be recovered. |
| Chill before slicing | Refrigerate for at least one hour after baking for a denser, chewier texture. |
| Bamchocolate ingredients | The BAM Basic pastry package supplies metric-ready baking chocolate and cocoa for this recipe. |
The ratio of fat to flour is the primary lever for texture. A 4:1 fat-to-flour ratio produces a dense, fudgy result. Shift that ratio and the texture changes measurably.
| Target texture | Fat (butter + chocolate) | Plain flour | Notes |
|---|---|---|---|
| Fudgy | 200 g | 50 g | No leavening; extra yolk optional |
| Chewy | 150 g | 65 g | Small amount of bread flour helps |
| Cakey | 150 g | 50 g | Add ½ tsp baking powder |
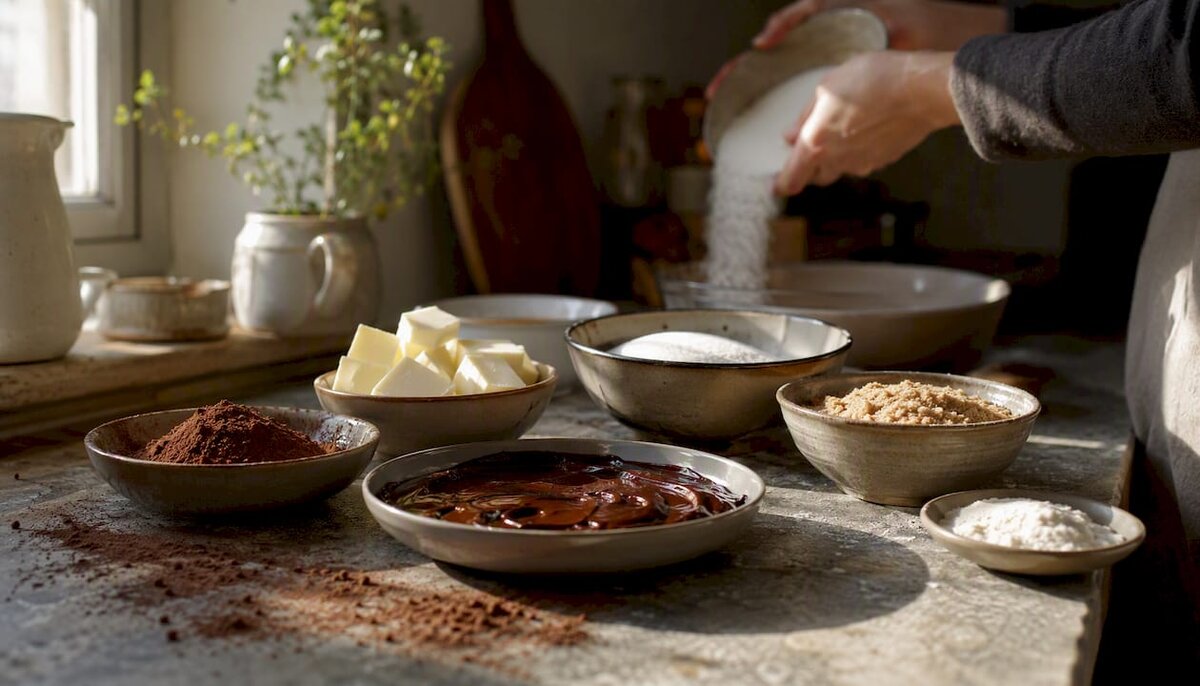
Eggs play a dual role. Yolks add richness and chew; whites provide structure. For maximum chewiness, add one extra yolk beyond the base recipe. For a lighter, more cakey result, use whole eggs only and add baking powder, which introduces air and lifts the crumb. Baking powder also changes the ratio guidance: once you add leavening, you can afford slightly more flour without losing lift.
Caster sugar dissolves more readily than coarse granulated sugar, producing a softer crumb and supporting the signature crackly top. Brown sugar adds molasses, which increases chewiness further. Many gourmet recipes use a 50/50 split of caster and light brown sugar for both effects.
Pro Tip: *Weigh flour directly into the bowl rather than scooping from the bag.
Good brownies start with sourcing. Using both melted premium chocolate and cocoa powder gives depth that neither ingredient achieves alone.
For choosing cocoa quality, look for a smooth, non-acidic Dutch-process powder with no added starch.
Metal tins conduct heat more evenly than glass. A glass dish runs hotter at the edges and slower in the centre, which makes consistent doneness harder to achieve.
The method that reliably produces a glossy, crackly top and dense centre follows a strict order of operations. BBC Good Food’s tested approach confirms this sequence works consistently for home bakers.
Pro Tip: If the chocolate mixture feels too warm when you touch the bowl, wait another 5 minutes before adding it to the eggs. Eggs begin to cook above 65°C, and curdling at this stage cannot be fixed.
Minimal mixing of dry ingredients is the single most important technique note. Over-mixing develops gluten and produces a tough, cakey crumb regardless of the fat-to-flour ratio.
| Tin size | Depth | Temp (fan) | Bake time | Notes |
|---|---|---|---|---|
| 20 cm square | 4–5 cm | 170°C | 22–25 min | Standard fudgy batch |
| 23 cm square | 3–4 cm | 170°C | 22–25 minutes | Thinner; check early |
| 33 × 23 cm | 2–3 cm | 165°C | 22–25 minutes | Large batch; edges set fast |
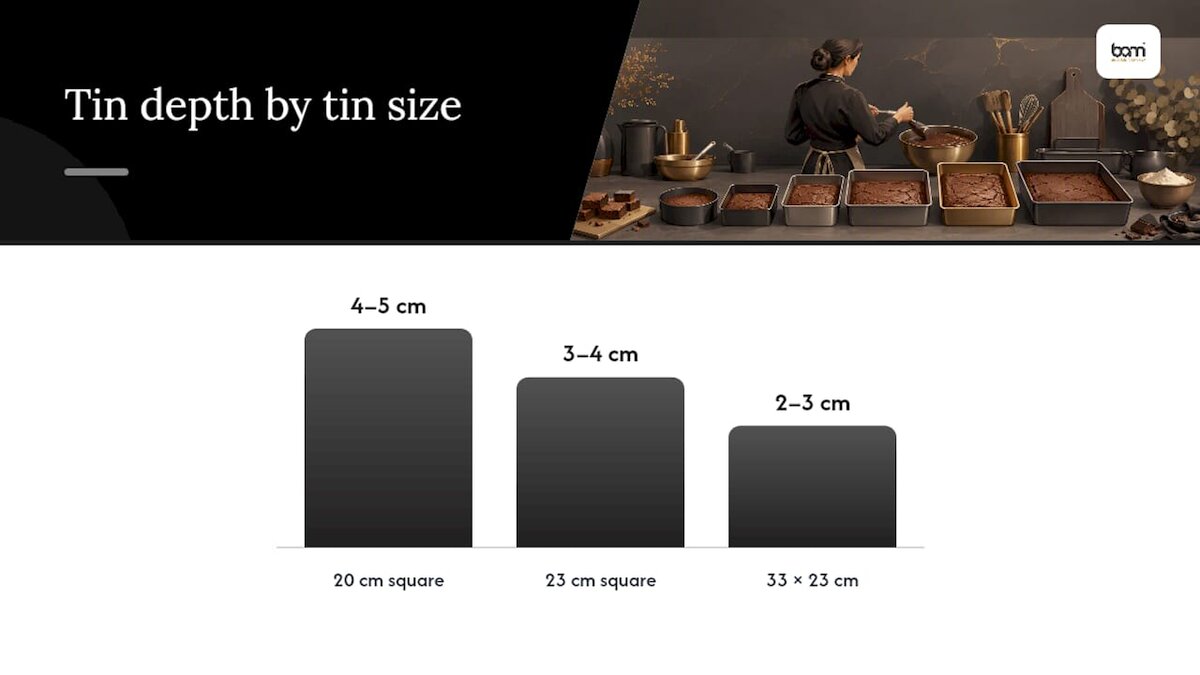
Metal tins bake faster and more evenly than glass. If using glass, reduce the temperature by 10°C and add 3–5 minutes. Always use an oven thermometer: many domestic ovens run 15–20°C hotter or cooler than the dial suggests.
The toothpick test is the most reliable doneness check. A clean toothpick means the brownies are overbaked and will be dry once cooled. Moist crumbs clinging to the skewer is the target. The centre should still have a slight wobble when you gently shake the tin; it firms up as the tray cools.
Chilling baked brownies for at least one hour sets the fats and produces a denser, chewier texture. Slice cold, then bring to room temperature before serving.
This recipe targets a rich, fudgy result and follows the ratio and method described above.
Ingredients (20 cm square tin, 16 pieces):
| Ingredient | Weight |
|---|---|
| Unsalted butter | 150 g |
| Dark chocolate (70%) | 150 g |
| Caster sugar | 50 g |
| Light brown soft sugar | 100 g |
| Large eggs | 3 (approx. 165 g) |
| Plain flour | 50 g |
| Dutch-process cocoa powder | 30 g |
| Fine sea salt | 1 g (¼ tsp) |
Method: Follow the six-step sequence in the professional method section above. Oven: 170°C fan. Tin: 20 cm square metal, lined. Bake time: 22–25 minutes. Cool in tin, then refrigerate for 1 hour before slicing.
Scaling: Double all weights for a 33 × 23 cm tin; bake at 165°C fan for 20–24 minutes.
Quick variations:
Gluten-free: Replace plain flour with a 1:1 gluten-free plain flour blend. Texture is slightly less chewy but still fudgy. Vegan: Replace butter with refined coconut oil (same weight) and eggs with 3 flax eggs (1 tbsp ground flaxseed + 3 tbsp water per egg, rested 10 minutes). The crackly top will not form without eggs, and the centre will be denser.
Pro Tip: Slice brownies cold from the fridge using a sharp knife wiped clean between cuts. Warm each slice briefly in a low oven (120°C fan, 5 minutes) or at room temperature for 20 minutes before serving. The contrast between the set exterior and the softening centre is the gourmet effect.
If the result is slightly underbaked, return the tray to the oven for 3–5 minutes. If you prefer a cakey texture, that is a valid outcome — simply note the ratio and method adjustments that produced it and repeat them deliberately next time.
Combining melted dark chocolate with Dutch-process cocoa gives both the glossy, dense texture that melted chocolate provides and the concentrated flavour intensity that cocoa adds. Neither alone achieves both. The chocolate contributes fat and body; the cocoa contributes colour and a clean, direct chocolate note without extra sweetness.
Brown butter is the optional step that separates a very good brownie from a genuinely memorable one. For everyday bakes, standard melted butter is fine. For guests, brown butter is worth the extra 10 minutes.
For premium ingredients, Bamchocolate is the source I return to: consistent cocoa quality, baking-grade dark chocolate, and accessories that match the precision this method requires.
The recipe above works best with consistent, weighed ingredients from a single trusted source. The BAM Basic pastry package covers the core ingredients for this guide: baking chocolate, Dutch-process cocoa, and key dry goods, all in metric-ready quantities. For readers who want to try ganache toppings or caramel swirls, the BAM Confectionery set Creamy fillings adds the finishing components in one order. Both are available at bamchocolate.com, with baking accessories including scales and tins in the same shop.
A ratio of approximately 4:1 fat to flour is the widely cited guideline for dense, fudgy brownies. For a standard batch, that means around 300 g of combined butter and chocolate to 50 g of plain flour.
Melted chocolate adds fat and body; cocoa powder adds concentrated flavour and colour without extra sweetness. Together they produce a texture and depth that neither achieves alone.
Whip the eggs and sugar together until pale and thick before adding the chocolate. Dissolving the sugar into the eggs at this stage creates the shiny, crackly surface crust during baking.
Pull the tray when a toothpick inserted into the centre comes out with moist crumbs attached. A clean toothpick means overbaked; wet batter means more time is needed.
Refrigerate for at least one hour after the tray has cooled to room temperature. Chilling sets the fats and produces a denser, chewier texture; bring slices back to room temperature before serving for full flavour.



 Confectionery tips



 Slovenščina
 Hrvatski
 Deutsch
 Italiano
 Česky
 Polski
 Magyar
 Français
 Slovák
 Nederlands
 Español