 info@bamchocolate.com
 Login


 en

 BAM Cake converter
 Login
Claudia
Avtorica vsebin


 Reading time:
10 minutes
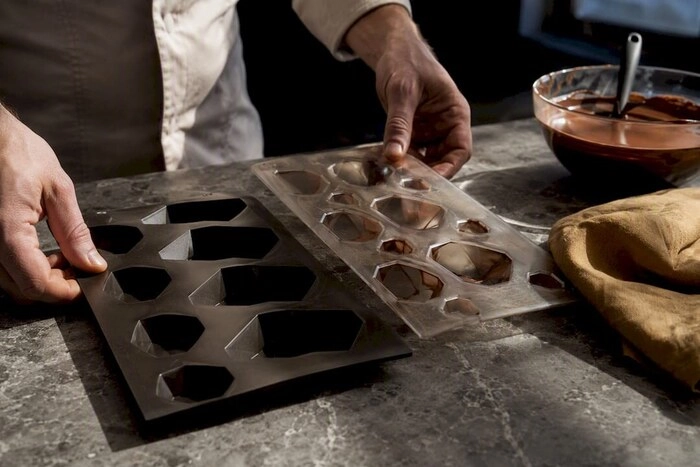
Practical product page checks to buy the right chocolate moulds, with clear notes on material, tempering, care, and when to upgrade.
For most hobby bakers, silicone moulds are the sensible starting point, since they release chocolate easily and forgive small mistakes. Professionals should move to rigid polycarbonate, which produces the mirror gloss that separates a home treat from a shop-window praline. This guide covers the material types, how to choose between them, correct use, and where to buy, so you order the right mould once rather than twice.
TL;DR:
- Silicone moulds are ideal for beginners because they are forgiving, dishwasher-safe, and easy to release, but they produce less glossy finishes compared to rigid moulds.
- Rigid polycarbonate moulds require proper tempering and are best suited for professional-quality gloss and detail, particularly important for large batches or display pieces.
- Choosing the right mould depends on skill level, production volume, and safety certifications, with advice to start small and learn the release and tempering routines before scaling up.
- Correct demoulding involves cooling fully and gently flexing silicone or tapping rigid moulds, while trapped air can be minimized with tapping or vibrating techniques.
- Proper cleaning and storage depend on material, with silicone tolerating dishwashers and rigid moulds needing hand-washing and protected storage away from heat and light.
Chocolate moulds fall into three material families, and each one dictates how your finished pralines, bars, or figures will look and behave.
Silicone forms are flexible, which makes demoulding almost foolproof: you flex the tray and the chocolate pops free. They tend to be dishwasher-safe and easy for beginners to clean, though repeated heat cycles can dull their surface over time and they rarely deliver the glass-like shine that rigid moulds achieve.
Polycarbonate, PET, and PVC forms are rigid plastics. They need chocolate to be properly tempered before pouring, but the payoff is a professional-grade gloss and crisp detail on edges and logos. Suppliers of professional polycarbonate moulds also stock accessories like clamps and form stoppers for high-volume production runs, and often offer custom moulding for bespoke shapes.
Metal forms appear less often for everyday praline work but still turn up for large hollow figures (Easter bunnies, Father Christmas hollows) where structural rigidity during setting matters more than flexibility.
Shape-wise, you are choosing between:
Both silicone and polycarbonate lines run from single hobby trays to multi-cavity sheets suited to batch production, so the material decision and the scale decision often arrive together; for expert event-planning advice on confectionery presentation, see Choosing the Perfect Wedding Cake - Winelands Function – For Every Occasion, Your Celebration.
Buying a mould is less about finding the “best” one and more about matching the tray to your skill level, your output, and your kitchen setup. Run through these five checks before you add anything to the basket.
Pro Tip: Buy one polycarbonate tray before you buy ten. Learn its release pattern, tempering window, and cleaning routine on a single shape before scaling up to a full production line.
If you are unsure which shape suits your recipe, our guide on making pralines like the top masters walks through cavity sizing alongside filling techniques.
Two core techniques cover almost every mould job: one-shot and shell-and-fill. One-shot means filling the whole cavity in a single pour, typical for solid bars, lollies, and simple figures. Shell-and-fill means coating the cavity walls with a thin layer, letting it set, adding a filling (ganache, praliné, caramel), then capping with a second layer of chocolate before it releases as a finished praline.
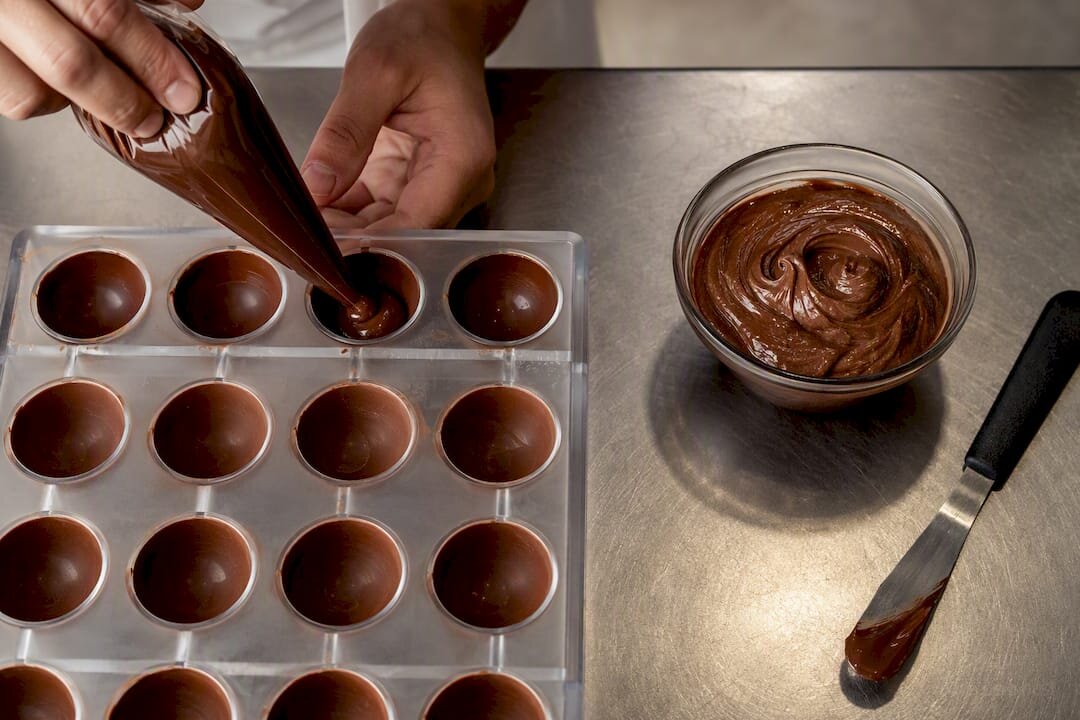
Tempering matters most with rigid moulds. Properly tempered chocolate contracts slightly as it cools, which is exactly what lets it pull cleanly away from a polycarbonate wall and produces the mirror gloss that untempered chocolate can never match. If you need a refresher on the process itself, the step-by-step in how to temper chocolate properly covers seeding and working temperatures in detail.
Demoulding differs by material:
Trapped air is the most common flaw in finished pieces. A firm tap of the filled tray on the worktop before it sets, or a few seconds on a vibrating table if you have one, pushes bubbles to the surface and gives you sharper, cleaner edges.
Cleaning routines depend entirely on the material. Silicone trays generally tolerate the dishwasher, while polycarbonate and PET forms usually need hand-washing with a soft, non-abrasive cloth to avoid scratching the glossy cavity surface that gives chocolate its shine.

Heat is the main enemy of rigid moulds: warping happens fast if a polycarbonate tray sits too close to an oven, a dishwasher’s heating element, or a sunny windowsill. Store moulds flat, stacked with a soft cloth between layers, away from direct light and dust.
Watch for these signs that a mould has reached the end of its useful life:
| Material | Cleaning method | Main failure sign |
|---|---|---|
| Silicone | Dishwasher or hand-wash | Surface dulling, tears |
| Polycarbonate/PET | Hand-wash, soft cloth | Scratches, clouding, warping |
| Metal | Hand-wash, dry immediately | Rust spots, dents |
For advice on cooling and storing the finished pieces themselves, see how and where to store chocolate.
Once you know your material and shape, the product page itself tells you whether a mould fits your setup. Trade listings typically state dimensions, cavity count, cavity weight, and a manufacturer part number; check all four before ordering, since part numbers matter most when you need to order matching clips or stoppers later rather than guessing at a compatible replacement.
Look out for these fields on any mould product page:
Bamchocolate’s baking accessories range covers exactly these needs, from mould trays through to the smaller tools that support them, with product details listed the same way: material, dimensions, and what’s included. Ordering the mould alongside a starter set saves a second delivery wait if you are just building your kit.
Beginners gravitate to silicone because it is genuinely hard to ruin a batch with it. That is not a compromise, it is the right call while you are still learning how chocolate behaves. The upgrade point comes when release quality stops being your bottleneck and gloss becomes the thing you actually want. At that stage, buy fewer, better polycarbonate trays and put the time into learning tempering properly, rather than collecting shapes you cannot yet finish well. If you want product-specific recommendations, Bamchocolate’s support team and product pages are there to help you match a tray to your recipe.
— Andraz
Silicone trays and polycarbonate sheets solve different problems, but you’ll need more than the mould itself to get consistent results. Bamchocolate’s baking accessories collection groups moulds with the thermometers, gloves, and filling tools you need on the same order, so a first purchase doesn’t turn into three separate deliveries. If you’re starting from scratch, the basic confectionery bundle pairs a mould with the core tools most new chocolatiers reach for first: a thermometer for tempering checks, a baking glove for handling warm trays, and a small filling set for shell-and-fill work. Add a baking glove separately if you already own a mould and just need protection for demoulding. Orders ship with packaging suited to fragile polycarbonate sheets, and the support team can confirm cavity sizes or part numbers before you buy if a product page leaves you unsure. Browse the baking accessories range and build your kit around the mould that matches your current skill level.
Yes. Silicone moulds handle both one-shot pours and shell-and-fill work well, and their flexibility makes release straightforward even without a perfect temper, though the finish will be less glossy than a properly tempered polycarbonate piece.
The main families are praline shells, bars and tafeln, hollow figures, and one-shot shapes like lollies, made in silicone, polycarbonate, PET, PVC, or metal depending on the finish and volume you need.
Wrap finished pieces to protect them from heat and light, and check any shop’s shipping notes before ordering moulds or chocolate in warmer months, since some suppliers flag seasonal shipping constraints to protect goods in transit. For gifting inspiration once your pieces are made, see unique sweet chocolate gifts.
Flex the tray gently from underneath rather than pulling from the front, and push each cavity from the back if a piece resists. A short spell in the fridge beforehand usually loosens a stubborn piece without needing force.
Yes, tempering is essential for rigid moulds. Untempered chocolate won’t contract enough to release cleanly, and it misses the mirror gloss that makes polycarbonate worth the extra step in the first place.



 Confectionery tips




 Slovenščina
 Hrvatski
 Deutsch
 Italiano
 Česky
 Polski
 Magyar
 Français
 Slovák
 Nederlands
 Español