 info@bamchocolate.com
 Login


 en

 BAM Cake converter
 Login
Claudia
Avtorica vsebin


 Reading time:
10 minutes
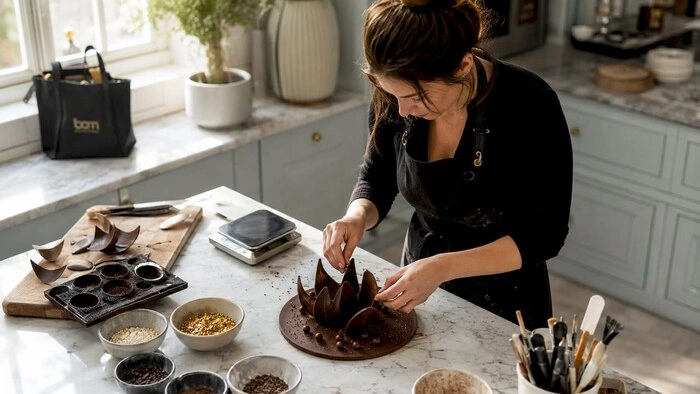
Master your dessert table with our chocolate centerpiece creation guide. Learn to build stunning, edible displays that wow your guests!
TL;DR:
- A chocolate centrepiece is an edible display made from tempered or moulded chocolate designed for visual impact on dessert tables. Proper tempering, quality chocolate, and food-safe bases are essential for creating durable, glossy, and visually appealing structures. Assembling the centrepiece close to the event keeps it fresh, stable, and visually striking.
A chocolate centrepiece is a structured, edible display built from tempered or moulded chocolate and designed to anchor a dessert table or celebration spread. This chocolate centrepiece creation guide covers every stage of the process, from selecting the right chocolate and structural base to assembling bonbon trees, chocolate nests, and bar bouquets. The key to a centrepiece that holds its shape and catches the light is tempering chocolate correctly. Get that right, and the rest follows naturally.
The right materials determine whether your centrepiece stands firm for hours or collapses before the first guest arrives. Choosing quality chocolate is the single most important decision you make at the start.
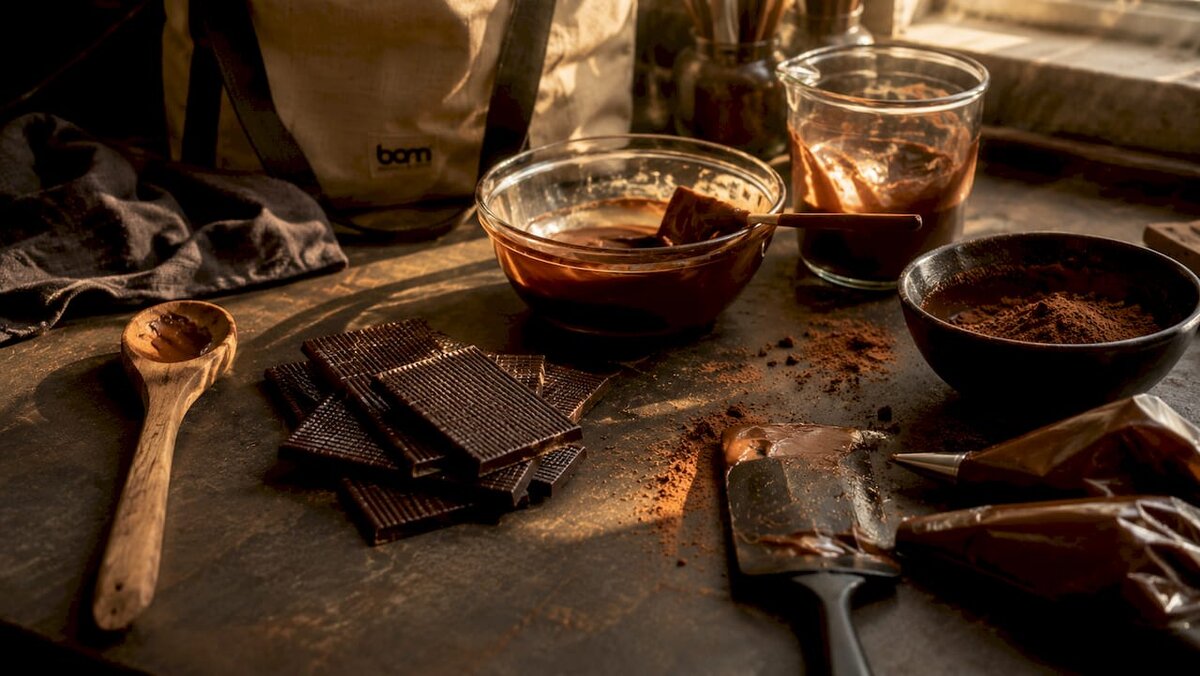
Couverture chocolate contains a higher percentage of cocoa butter than standard baking chocolate. That extra fat gives it superior fluidity, which means you can create thinner, more delicate shapes with less effort. Compound chocolate is the beginner-friendly alternative. It skips the tempering requirement entirely, though it sacrifices some gloss and snap in the finished piece.
| Type | Best use | Tempering required |
|---|---|---|
| Couverture dark | Structural shells, shards, spheres | Yes |
| Couverture white | Coloured decorations, flowers | Yes |
| Compound wafers | Beginner moulds, drizzles | No |
Beyond chocolate, you need the following materials:
A digital thermometer is non-negotiable for couverture work. Temperature swings of just a few degrees produce entirely different results in the finished chocolate.
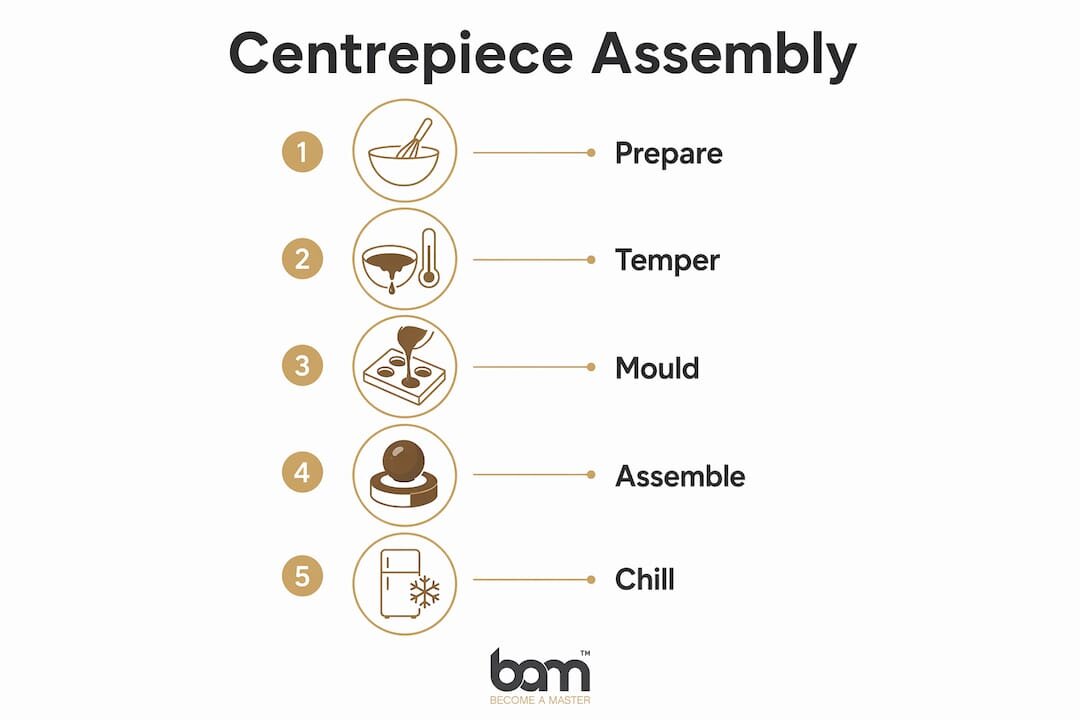
Tempering stabilises cocoa butter crystals to produce a glossy finish, a clean snap, and the structural strength that elaborate centrepieces demand. Without it, chocolate sets dull, streaky, and soft. That matters enormously when your centrepiece needs to survive two hours on a warm dessert table.
The microwave method is the most accessible approach for home bakers. Microwave tempering gives you reliable temperature control without specialist marble slabs or tabling equipment. Follow these steps for dark couverture:
Pro Tip: If your test smear sets with grey streaks or a dull surface, the chocolate is out of temper. Reheat gently to 50°C and repeat the seeding process from step three.
Small temperature variations during tempering significantly affect the final finish and structural strength. Consistent technique matters more than speed. If tempering feels too technical at the start, compound chocolate wafers let you practise shaping and assembly without the temperature pressure. You can upgrade to couverture once your confidence builds.
For those who want to skip the thermometer entirely, Bamchocolate has a practical guide on tempering without equipment that uses the touch-and-spread method instead.
Three centrepiece styles suit home bakers at every skill level: the bonbon tree, the chocolate nest, and the chocolate bar bouquet. Each uses a different structural approach, so you can choose the one that matches your event and your available time.
The bonbon tree is the most recognisable chocolate centrepiece for celebrations. Toothpicks inserted at a slight upward angle keep heavy truffles secure in the foam base and prevent them from sliding down the cone.
Pro Tip: Chill the assembled tree for 15 minutes before displaying it. Cold truffles grip the toothpicks more firmly and the whole structure holds better in a warm room.
The chocolate nest works beautifully as a centrepiece bowl for Easter, spring celebrations, or dessert tables. Drizzle tempered chocolate in thin, overlapping strands over the back of a lightly oiled ramekin. Build up three or four layers, allowing each to set for 2 minutes before adding the next. Once fully set, gently flex the ramekin to release the nest. Fill it with chocolate eggs, fresh berries, or edible flowers.
Wooden skewers hot-glued to the backs of chocolate bars and arranged in floral foam inside a vase create a striking edible display. This method requires no tempering at all, making it the fastest option for event planners working to a tight deadline.
The bouquet style pairs well with themed events. Adding personalised ribbon or printed tags makes it a gift and a centrepiece in one. For inspiration on matching your centrepiece style to a broader dessert spread, Caribbean dessert presentation offers useful ideas on colour and flavour harmony across a table.
The finish on your chocolate is as important as the structure beneath it. Pairing contrasting textures and finishes adds depth and visual drama that a single-finish piece simply cannot achieve.
A chocolate garnish should never feel like an afterthought. The most memorable centrepieces add visual contrast, textural variety, and a flavour signal that prepares guests for what they are about to eat.
Practical decoration ideas that work across all three centrepiece styles:
Colour matching to your event theme is straightforward with white couverture. Add oil-based food colouring to melted white chocolate to produce any shade. Use the coloured chocolate in moulds to create themed decorations, from pastel Easter eggs to deep red Valentine’s hearts. For shaped decorations, the Bamchocolate guide on modelling chocolate for decorating explains how to prepare a pliable chocolate paste that holds fine detail.
A successful chocolate centrepiece depends on three things: the right chocolate, correct tempering, and a food-safe structural base that holds everything in place.
| Point | Details |
|---|---|
| Choose chocolate by skill level | Use couverture for professional results; use compound wafers if you are new to chocolate work. |
| Temper for strength and gloss | Tempered chocolate sets firm, glossy, and durable. Untempered chocolate goes dull and soft. |
| Use food-safe barriers | Line all foam bases with parchment or silicone to prevent flavour transfer and maintain hygiene. |
| Layer textures for visual impact | Combine shards, curls, and metallic finishes to add depth that a single-finish piece cannot achieve. |
| Assemble close to serving time | Chocolate centrepieces hold best when assembled within a few hours of display, especially in warm venues. |
The biggest mistake I see home bakers make is treating the centrepiece as the last thing on the to-do list. You plan the cake, the flowers, the table linen, and then you try to build a chocolate structure in the final hour before guests arrive. That is when things go wrong.
Structural planning comes first. Before you melt a single gram of chocolate, decide on the base, the height, and the weight the structure needs to carry. A bonbon tree loaded with 100 truffles is surprisingly heavy. A flimsy vase or an undersized foam cone will not hold it. I always test the base with a dry run using the actual chocolates before I commit to assembly.
The tempering challenge is real, but it is not as intimidating as most tutorials make it sound. The touch test is your best friend. If a small smear of chocolate on the back of your wrist feels cool and sets within a minute, you are in temper. If it stays tacky or streaks, you are not. Trust that feedback over any timer or recipe instruction.
Lighting and colour harmony matter more than most people expect. A centrepiece that looks stunning in your kitchen can disappear on a busy dessert table if the colours do not contrast with the tablecloth or the surrounding food. I always photograph my centrepiece against the actual backdrop before the event starts. Natural light from a window is the most honest test of whether your finishes and colours read the way you intended.
Assemble as close to serving time as you can manage. Chocolate absorbs room temperature, humidity, and handling. A centrepiece built the night before will look different by the time guests see it. Two to three hours before the event is the sweet spot for most designs.
— Andraz
Bamchocolate stocks the baking accessories and confectionery ingredients that make the techniques in this guide achievable at home. The baking accessories range includes silicone moulds, piping bags, and thermometers suited to both tempering and moulding work. For bakers who want a structured starting point, the BAM Basic pastry package brings together key ingredients and tools in a single bundle. The 101 BAM pastry recipe book covers decorating techniques that extend well beyond centrepieces into the full range of chocolate confectionery. All products ship directly from the Bamchocolate online shop.
A chocolate centrepiece is a structured edible display built from tempered or moulded chocolate, designed to serve as a visual focal point on a dessert or celebration table.
Tempering is required for couverture chocolate to achieve gloss and structural strength. Compound chocolate wafers are a no-temper alternative suited to beginners.
An 18-inch styrofoam cone requires approximately 75–100 wrapped truffles to achieve a full, dense tree effect when toothpicks are spaced 1½–2 inches apart.
Line all foam bases with food-safe parchment paper or silicone before attaching any chocolate. This barrier prevents flavour transfer and maintains hygiene throughout the display.
Assemble no more than 2–3 hours before display for best results. Chocolate absorbs ambient heat and humidity, which affects both appearance and structural integrity over time.


 Chocolate novelties


 Slovenščina
 Hrvatski
 Deutsch
 Italiano
 Česky
 Polski
 Magyar
 Français
 Slovák
 Nederlands
 Español