 info@bamchocolate.com
 Login


 en

 BAM Cake converter
 Login
Claudia
Avtorica vsebin


 Reading time:
12 minutes
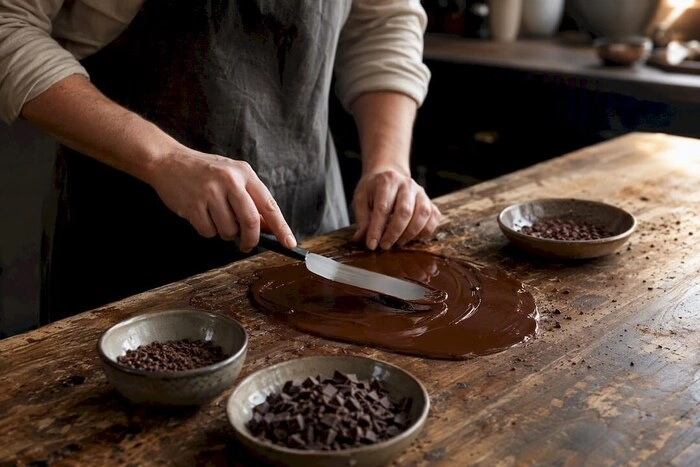
Couverture for home bakers: a 3 step seeding temper, 45–50°C oven melt trick, the cream and honey ganache tweak, and BAM starter kits to get glossy results.
Couverture is the professional chocolate to reach for when you want a thin, glossy coating, a dipped biscuit, or a mirror-smooth cake drip, as explained in these colorful meal presentations tips for home cooks. It melts differently to a standard bar because of its higher cocoa-butter content, which is exactly why it flows so well over cakes and pralines. It fully liquefies when heated, so it is not the right choice when you need solid chocolate pieces to survive inside a bake. Get the tempering right, and it rewards you with real gloss and a clean snap.
TL;DR:
- Couverture contains at least 31% cocoa butter, making it flow more evenly, coat more smoothly, and set with a high-gloss shine when tempered properly.
- It is ideal for coatings, glazes, and decorations but unsuitable for baking chunks that must survive the oven intact.
- Proper tempering involves heating, seed cooling, and gentle reheating to achieve stable crystals, but precise temperature control is less critical than consistency.
- Use couverture for finishing touches like cake glazes, drips, or shell decorations, while standard chocolate is better for baking pieces that need to hold shape.
- Store couverture at stable temperatures of 16 to 18°C, away from moisture, light, and temperature swings to prevent bloom and maintain quality.
Couverture is not a marketing term for fancy chocolate. It is a defined category, distinguished from ordinary eating chocolate by its cocoa-butter content, with industry sources pointing to minimums around 31% cocoa butter as the benchmark that separates true couverture from standard bars, as Rama’s baking guide sets out. That extra fat matters more than the percentage sounds. Standard chocolate typically carries far less cocoa butter, which makes it thicker when melted and slower to release from a mould or set into a smooth shell.
More cocoa butter means the melted chocolate flows more thinly, coats more evenly, and sets with a tighter, glossier shine once tempered correctly, according to Dr. Oetker’s comparison of chocolate and couverture. That is the whole reason pastry chefs reach for it over a supermarket bar when dipping truffles or glazing a torte.
For home bakers, couverture comes in a few practical formats:
All three are available in dark, milk and white varieties, as confirmed by Backecke, so the format is really a question of convenience rather than quality.
The decision comes down to one question: does the chocolate need to stay solid after baking, or is it going on as a finish? Couverture wins for anything involving flow, shine, or a thin shell. Standard chocolate or purpose-made baking chips win for anything that needs to hold its shape in the oven.
Reach for couverture when you’re making:
Reach for standard eating chocolate or baking-specific chips when you’re making:
A useful rule of thumb: if the chocolate is the last thing to touch the food before it’s served, use couverture. If it’s going into the oven mixed with batter and needs to survive as a recognisable piece, use chips designed for that job. Our guide on choosing the right chocolate for baking breaks this down recipe by recipe if you want more specific pairings.
Getting a shiny, snapping finish is entirely about temperature control, not luck. Couverture holds several types of cocoa-butter crystal, and only one of them, the stable form, gives you that glassy shine and firm bite. Tempering is the process of nudging the chocolate towards that one crystal structure and away from the others.
The golden rule first: never let water or steam touch your couverture. Even a stray drop causes the sugar and cocoa particles to clump instantly into a grainy, unworkable paste, a reaction the pastry world calls seizing, and one Heisse Himbeeren’s tempering guide flags as the single most common mistake home bakers make.
Pro Tip: A low-temperature oven method works as a gentle alternative to a bain-marie. Warm the couverture in an oven-safe dish at around 45 to 50°C, stirring every few minutes, and you avoid any risk of steam drifting into the bowl, a technique detailed by Glutenfreie Manufaktur’s couverture recipes.
The classic seeding method works in three steps:
If you’re simply folding melted couverture into a batter or a ganache that will be chilled rather than left to set at room temperature, you can skip tempering altogether. It only earns its keep when gloss and snap actually matter, which is coatings, shells and decorations, not brownie batter. For a full walkthrough with troubleshooting photos, see our guide on how to temper chocolate properly.
A basic ganache starts at a 1:1 ratio: equal parts dark couverture and cream by weight. Heat the cream just to a simmer, pour it over chopped or melted couverture, and stir from the centre outwards until glossy. For milk or white couverture, shift the ratio to roughly 2:1 or 3:1 chocolate to cream, since these varieties carry more sugar and less cocoa solid to firm up the mixture.
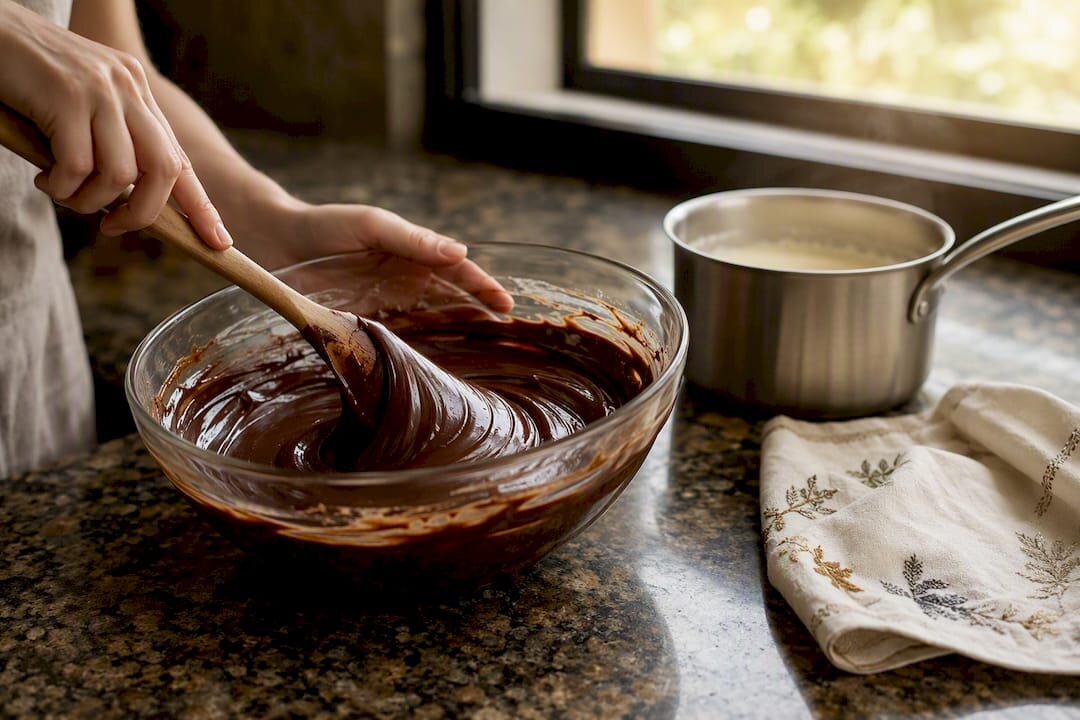
If you want a softer set that slices cleanly rather than cracking, blend the melted couverture with cream and a small spoonful of honey. This tweak is a well-known trick among pastry bakers for keeping a glaze flexible enough to cut through without shattering, as Glutenfreie Manufaktur’s processing notes describe.
For a mirror drip on a cake:
Tempered couverture also moulds well into leaves, curls, and transfer-sheet decorations, since the stable crystal structure lets it release cleanly once set. Our full ganache cream guide has more ratios if you want to build confidence before tackling a full celebration cake.
Seizing happens the moment water meets melted couverture, turning smooth liquid chocolate into a grainy, stiff clump almost instantly. It is very difficult to rescue a fully seized batch, so prevention beats repair every time: keep bowls, spoons and bain-marie lids completely dry, and never cover a bowl of melting chocolate with a damp cloth.
Fat bloom, the dusty grey-white film that sometimes appears on stored chocolate, has two usual causes: incomplete tempering, or storage through temperature swings that let cocoa-butter crystals migrate to the surface. Correct tempering at the ranges above is your best defence.
For storage:
Our tips on glossy chocolate icing cover a few more fixes for dull or streaky finishes if bloom keeps recurring.
Cocoa percentage tells you the ratio of cocoa solids and cocoa butter to sugar, and it changes couverture’s flavour more than most home bakers expect. A 55% dark couverture reads as fruity and mild, closer to a dessert chocolate, while anything above 70% brings a sharper bitterness and a more pronounced roasted note that can overpower delicate fillings if you’re not careful with pairing.
Origin matters just as much as percentage. Chocolate made with beans from Ecuador or Venezuela tends toward floral, red-fruit notes. West African beans, which dominate global supply, generally deliver a more straightforward, deep cocoa flavour with less acidity. Single-origin couverture from Madagascar often carries a distinct tanginess, closer to citrus than to classic “chocolate” flavour, which makes it a striking but polarising choice for a simple glaze.
This is worth factoring into your recipe planning rather than treating all dark couverture as interchangeable. Pastry professionals note that couverture is genuinely a specialised working chocolate, and swapping it into a plain batter recipe without adjusting sugar or other flavours can flatten the result compared with using a well-chosen eating chocolate, a point Heisse Himbeeren’s guide makes clearly. Taste your couverture on its own before deciding it belongs in a specific bake.
Couverture behaves differently depending on where it sits in the recipe, and matching the technique to the bake makes the difference between a flat result and a genuinely professional one.
For cakes, couverture earns its place as a glaze or drip rather than mixed into the sponge batter itself. Reserve your standard baking cocoa or eating chocolate for the crumb, and save the couverture for the finish, where its gloss actually shows.
For cookies, chopped couverture works fine as a mix-in if you like a more liquid, molten pocket once baked, but it will spread and pool more than dedicated chocolate chips because of its higher fat content. If you want distinct, holdable chunks after baking, standard baking chips are the more predictable choice.
For pastries and tarts, thin tempered couverture makes an excellent moisture barrier. A light brushed layer on a tart base before adding a wet filling stops the pastry turning soggy, a trick professional kitchens use routinely.
For layered or filled cakes, couverture ganache does double duty as both filling and crumb coat, giving a smooth base for fondant or a final glaze to sit on top of.
The general principle: use couverture wherever the chocolate is visible, tastable as a finish, or acting structurally (a barrier, a coating, a shell). Use other chocolate where it needs to survive the oven as recognisable pieces.
Most guides to couverture treat tempering like a laboratory procedure, all thermometers and crystal diagrams, and that scares off home bakers who would otherwise get excellent results. The truth from working with this chocolate repeatedly is that precision matters far less than consistency. You do not need a lab-grade thermometer accurate to a tenth of a degree. You need to stay roughly within range, keep water away from the bowl, and stop overthinking the seeding step.
Where conventional advice really falls short is treating couverture as a like-for-like swap for eating chocolate in every recipe. It isn’t. Its higher cocoa-butter content is built for flow and shine, not for carrying flavour through a dense batter, and pretending otherwise leads to flatter-tasting bakes.
If you take one thing from this guide, prioritise the cream-and-honey ganache tweak before you worry about perfect tempering curves. It is the single easiest change that makes a home bake look and taste like it came from a proper patisserie, and it forgives far more kitchen error than a strict temper chart ever will.
— Andraz
Bamchocolate is where the tempering steps above stop being theory and become tonight’s bake. Rather than hunting through several shops for drops, a thermometer and a decent bowl, the BAM Basic pastry package bundles couverture drops with the core accessories used throughout this guide, so you can start the seeding method without a second trip to the shop. If you’d rather build your own kit, browse the full range of baking accessories for thermometers, moulds and dipping tools suited to couverture work. Whichever route you take, check the starter bundle now and have everything you need for your next glaze or ganache in one order.
You can use couverture for baking, but it works best in coatings, glazes and ganache rather than mixed into batter, since it melts fully and won’t hold shape as chunks once baked.
Couverture contains a higher percentage of cocoa butter than standard eating chocolate, which gives it thinner flow when melted and a glossier, snappier finish once tempered, as Dr. Oetker explains.
No, couverture is not inherently bake-stable. It melts completely when heated, so for chocolate pieces that need to survive baking intact, use purpose-made baking chips or chunks instead.
Melt and temper the couverture, then thin it slightly with warm cream to create a glaze or drip that flows over a chilled cake, letting it set on contact for a glossy finish.
No. Tempering is only necessary when you need shine and a firm snap, such as coatings or moulded decorations. If you’re folding couverture into a batter or a chilled ganache, you can skip the tempering step entirely.


 Confectionery tips



 Slovenščina
 Hrvatski
 Deutsch
 Italiano
 Česky
 Polski
 Magyar
 Français
 Slovák
 Nederlands
 Español