 info@bamchocolate.com
 Login


 en

 BAM Cake converter
 Login
Claudia
Avtorica vsebin


 Reading time:
10 minutes
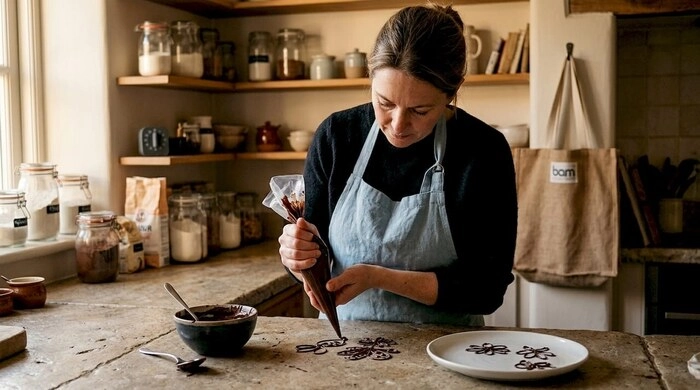
Learn how to make chocolate decorations at home with easy techniques. Impress your friends and enhance desserts like a pro!
TL;DR:
- Making chocolate decorations requires proper tempering, quality tools, and a cool, dry workspace. With at least 60% cocoa chocolate, home bakers can create glossy, crisp, and attractive embellishments using simple techniques. Consistent results depend on controlling environmental factors and testing the chocolate temper before starting.
Chocolate decorations are edible embellishments made from tempered or melted chocolate, shaped into curls, piped designs, moulded forms, and painted patterns to enhance the appearance and texture of desserts. Mastering how to make chocolate decorations at home requires three core skills: melting chocolate correctly, tempering it for gloss and snap, and applying reliable shaping techniques. The good news is that with the right tools, a cool workspace, and chocolate with at least 60% cocoa content, professional-looking results are well within reach for any home baker.
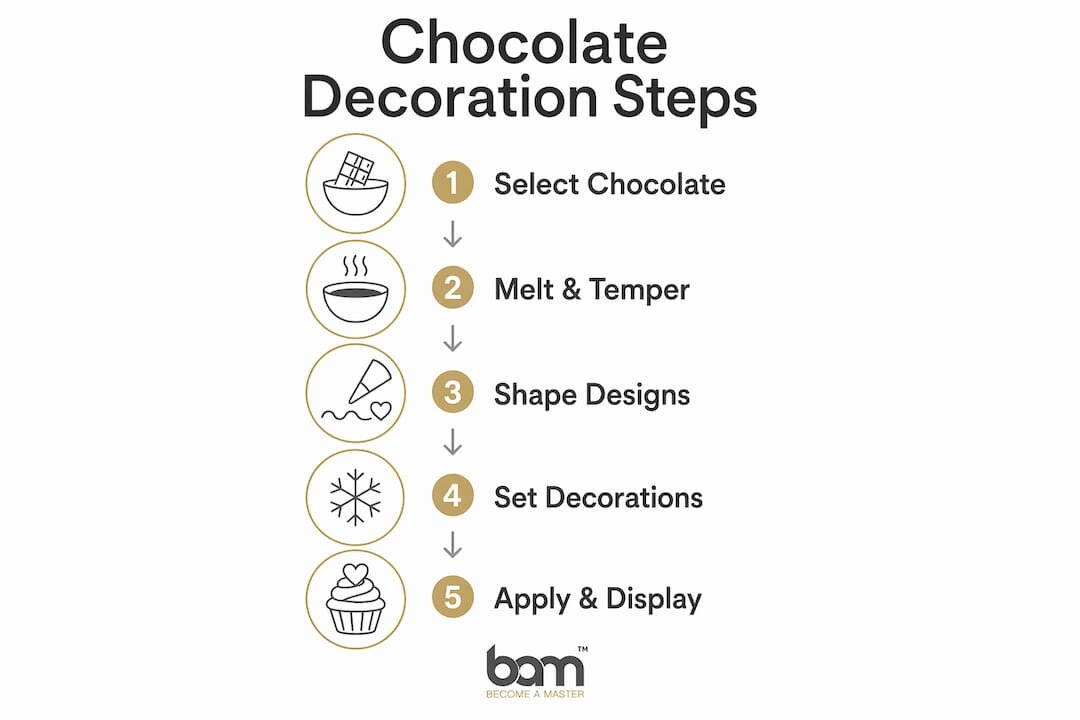
The right chocolate is the foundation of every decoration technique. Master chocolatiers recommend a minimum of 60% cocoa content for dipping and moulding, as higher cocoa solids give better fluidity, a cleaner snap, and a glossier finish once set. Milk and white chocolate work too, but they contain more sugar and milk solids, which makes them more sensitive to heat and moisture.
Your tool selection directly affects the quality of your results. Here is a comparison of the core tools and their best uses:
| Tool | Best use | Notes |
|---|---|---|
| Piping bags | Lettering, outlines, lace designs | Use with small round nozzles for control |
| Silicone mats | Piped shapes, flat decorations | Non-stick surface; easy to peel off |
| Polycarbonate moulds | Flowers, geometric shapes, bonbons | Produces sharper edges than silicone |
| Palette knife | Spreading sheets, making curls | Flexible blade gives even thickness |
| Digital thermometer | Tempering accuracy | Non-negotiable for consistent results |
| Acetate sheets | Piped transfers, curls | Creates a smooth, shiny surface |
A clean, dry workspace is non-negotiable. Humidity and room temperature directly affect how chocolate melts and sets, so working in a cool, dry kitchen gives you the most control. Avoid working near a steaming kettle or an open dishwasher.
Key supplies to have ready before you start:
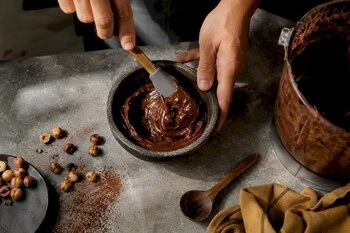
Melting chocolate correctly is the single most important step in any chocolate decoration technique. Two methods work reliably at home: the microwave and the double boiler.
Master chocolatier Jacques Torres advocates this slow, medium-power approach specifically to maintain smooth texture and avoid scorching.
Steam is the main enemy when melting chocolate. Even a single drop of water causes the chocolate to seize, turning it grainy and unusable.
Tempering is the process of heating and cooling chocolate to specific temperatures so that the cocoa butter crystals form a stable structure. Tempered chocolate sets with a glossy surface and a clean snap. Untempered chocolate sets dull and soft, and develops a white, powdery bloom over time. For guidance on getting this right every time, the Bamchocolate guide on tempering chocolate properly covers the full temperature targets for dark, milk, and white chocolate.
Pro Tip: Test your temper by spreading a small amount of chocolate on a spoon and placing it in the fridge for two minutes. If it sets firm and shiny with no streaks, your temper is correct.
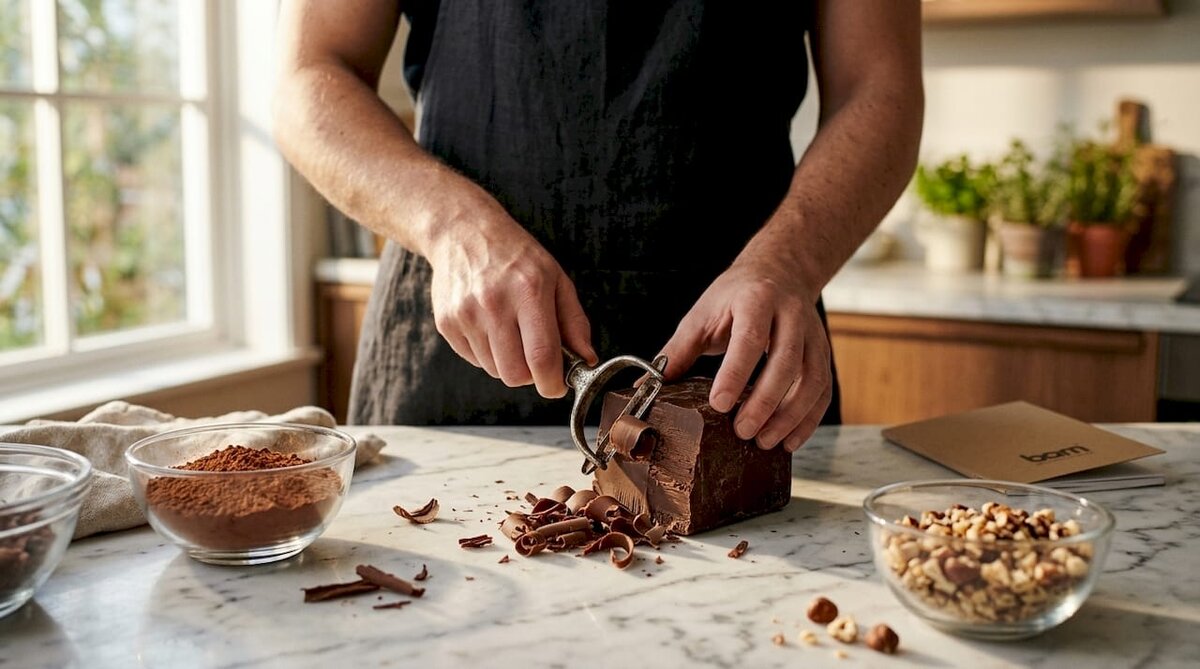
Chocolate curls are one of the most visually striking and beginner-friendly decorations you can make.
Chilling the chocolate slightly before curling gives tighter, more defined curls. Warmer chocolate produces looser, wider ribbons.
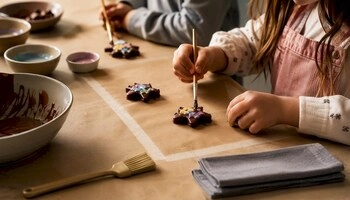
Piped chocolate decorations are ideal for monograms, lace patterns, and geometric outlines.
Acetate sheets produce a shinier underside on piped decorations compared to parchment. This is worth knowing if the underside will be visible on your finished dessert.
Pro Tip: Print a template, slide it under the parchment or acetate, and pipe directly over it. This removes the guesswork from freehand shapes.
Silicone and polycarbonate moulds produce flowers, butterflies, shells, and geometric shapes with consistent results.
When working with coloured cocoa butter, remove any splatter from the mould rims immediately before filling. Leftover splatter creates uneven edges on the finished shell.
| Technique | Setting time | Best use |
|---|---|---|
| Chocolate curls | 5–10 mins (room temp) | Cake tops, trifles |
| Piped shapes | 15–20 mins (room temp) | Monograms, lace, outlines |
| Moulded shapes | 1 hour (refrigerated) | Flowers, bonbons, geometric forms |
| Chocolate leaves | 1 hour (refrigerated) | Floral cake decoration |
For a detailed walkthrough on chocolate leaf decoration, Bamchocolate has a dedicated step-by-step guide worth bookmarking.
This advanced technique produces vivid, marbled effects inside moulds. Body heat keeps cocoa butter liquid, so warm fingertips cause smears rather than sharp patterns. Work quickly, use the tip of one finger, and keep your hands cool by resting them briefly on a cold surface before each stroke.
Even experienced bakers encounter problems. Most issues trace back to a small number of causes.
Humidity control is a factor many home bakers overlook entirely. A humid kitchen causes chocolate to set slowly, develop a dull surface, and absorb moisture from the air. If your kitchen is warm and humid, consider running a dehumidifier or working in the early morning when temperatures are lower.
Pro Tip: Always test a small batch of tempered chocolate before committing to a full decoration run. A two-minute fridge test on a spoon tells you everything you need to know about your temper before you start.
A cool, dry workspace is not optional. It is the single environmental factor that separates consistent results from repeated failures.
Properly tempered chocolate, the right tools, and a cool, dry workspace are the three non-negotiable foundations of successful chocolate decoration at home.
| Point | Details |
|---|---|
| Chocolate selection | Use chocolate with at least 60% cocoa content for the best fluidity and finish. |
| Melting method | Microwave at 50–70% power, stirring every 15 seconds, or use a sealed double boiler. |
| Setting times | Piped decorations need 15–20 minutes; moulded shapes need approximately 1 hour refrigerated. |
| Workspace conditions | Work in a cool, dry room to prevent seizing, bloom, and slow setting. |
| Test before scaling | Always test temper on a spoon before starting a full batch of decorations. |
Most beginners underestimate how much the environment affects their results. I have seen bakers follow every tempering step correctly and still end up with dull, streaky decorations because their kitchen was 24°C and humid. The chocolate does not lie. If your workspace is warm, your results will show it.
The other thing I would push back on is the idea that you need complex shapes to impress. A well-executed chocolate curl or a clean piped monogram on a cake tells me far more about a baker’s skill than a rushed flower mould. Start with curls and piped lines. Get those right first. Once you can produce consistent, glossy, snappy chocolate every time, the more advanced techniques like coloured cocoa butter and polycarbonate mould work will come naturally.
Invest in a digital thermometer before anything else. Tempering by feel alone is possible, but it takes years of practice. A thermometer removes the guesswork immediately. Bamchocolate also has a useful guide on tempering without a thermometer if you want to understand the underlying principles, but for reliable daily results, the thermometer wins every time.
My favourite beginner decoration is still the simple chocolate shard. Pour tempered chocolate onto acetate, spread it thin, scatter a few flakes of sea salt or freeze-dried raspberry, and let it set. Break it into irregular pieces. It looks striking, takes ten minutes, and teaches you everything about how tempered chocolate behaves.
— Andraz
Getting the right equipment makes a measurable difference to your results. Bamchocolate stocks a range of baking accessories suited to chocolate decoration work, including piping bags, silicone mats, and the tools you need for consistent results at home. For bakers who are just starting out, the BAM Basic pastry package brings together the core confectionery tools in one bundle, removing the need to source each item separately. More experienced decorators working with moulds, fillings, and advanced techniques will find the BAM Large Confectionery Bundle covers the full range of what is needed. All products are selected for quality and practical use in home kitchens.
Chocolate with at least 60% cocoa content gives the best fluidity, gloss, and snap for decorations. Higher cocoa solids produce a cleaner temper and a more professional finish.
Keep all bowls and tools completely dry and avoid any contact with steam. Even a small amount of moisture causes chocolate to seize and become grainy.
Piped chocolate decorations set in 15–20 minutes at room temperature. Moulded shapes require approximately 1 hour in the refrigerator to set fully.
Tempering is necessary for decorations that need a glossy surface and a clean snap. Untempered chocolate sets dull and soft, and develops white bloom during storage.
Yes. Chocolate curls require only a palette knife and a flat surface. Piped designs need a piping bag and parchment paper. A digital thermometer is the one tool worth buying before anything else.


 Confectionery tips


 Slovenščina
 Hrvatski
 Deutsch
 Italiano
 Česky
 Polski
 Magyar
 Français
 Slovák
 Nederlands
 Español