 info@bamchocolate.com
 Login


 en

 BAM Cake converter
 Login
Claudia
Avtorica vsebin


 Reading time:
11 minutes
Practical, beginner-friendly guidance for home bakers: choose couverture or candy melts, learn melting and tempering (or skip tempering), and finish...
For a glossy, snappable finish, use couverture chocolate and temper it properly; for a fast, forgiving result, use compound coating (candy melts), which needs no tempering at all. Both work in silicone or polycarbonate moulds. Pick couverture if you want a professional shine and are willing to learn the seed method; pick compound coating if you want an easy win on your first attempt.
TL;DR:
- Using couverture chocolate yields a glossy finish and a firm snap, but it requires precise tempering to achieve optimal appearance and texture.
- Compound coating needs no tempering and is ideal for beginners, although it offers a duller finish and different flavor compared to real chocolate.
- Proper temperature control during melting and tempering is crucial, with specific target temperatures for dark, milk, and white chocolates to prevent streaks and bloom.
- Polycarbonate molds produce a high-quality, shiny surface but require careful cleaning and polishing; silicone molds are more forgiving but result in a duller finish.
- Storing chocolates below 20°C with humidity under 50% and handling them carefully during demolding helps prevent bloom, condensation, and surface dullness.
Couverture is the professional’s choice because it carries a high proportion of cocoa butter, which is what produces the glossy shell and the sharp snap you get when you break a good bonbon in half. Callebaut’s guidance on fluidity recommends matching the chocolate’s flow (its “three-drop” or “four-drop” consistency) to the level of detail in the mould, since thinner chocolate captures fine engraving better than thick chocolate does.
Compound coating, often sold as candy melts, swaps cocoa butter for vegetable fat. That single change means it never needs tempering, which makes it the more forgiving option for a first project, though the flavour and the snap are noticeably different from real chocolate, as Better Baker Club points out.
Before buying, check the ingredients list rather than the front-of-pack claims:
A guide on how to choose good quality chocolate walks through label reading in more depth if you want to get this step right before you spend money on a mould.
Tempering aligns the cocoa butter into a stable crystal structure, and that structure is the entire reason tempered chocolate looks glossy and snaps cleanly instead of turning dull and soft. Skip it, and even the best couverture will set streaky.
Working temperatures vary by type, and getting them wrong by even a couple of degrees is the most common reason home tempering fails, according to Food Network’s tempering notes:
Pro Tip: If you have no marble slab, the seed method works just as well on a countertop. Melt two-thirds of your chocolate to the top temperature, then stir in the remaining third, already in small callets, until the mix drops to the cooling target. The unmelted callets “seed” the batch with stable crystals.
If those numbers feel like too much to manage on a first attempt, compound coating lets you skip tempering entirely, at the cost of that professional gloss. An article on tempering chocolate without using a thermometer is worth reading if you want to try judging temper by touch and appearance instead.
A double boiler is the safest route for a beginner. Bring an inch of water to a bare simmer in a saucepan, sit a heatproof bowl on top without letting it touch the water, and stir the chocolate every 20 to 30 seconds until it is smooth. A single drop of water landing in the bowl is enough to seize the whole batch, so keep the bowl and spatula bone dry throughout.
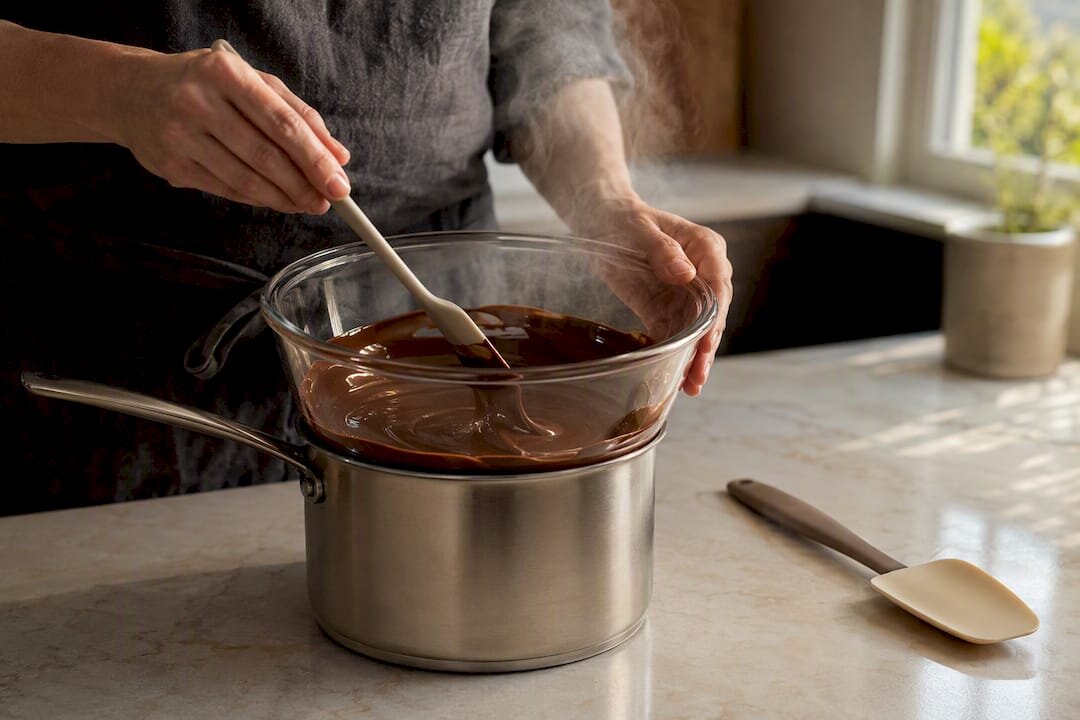
The microwave method is faster if you are careful. Heat in 20 second bursts on medium power, stirring thoroughly between each one, and slow down to 10 second bursts once the chocolate is mostly melted, since it scorches quickly near the end. Food Network’s melting guidance backs both approaches.
Useful kit for either method:
Avoid ordinary eating chocolate bars where possible. Many contain emulsifiers and fillers that make consistent tempering harder, which is why chocolatiers favour couverture or purpose-made melting wafers instead. A how to melt chocolate guide covers the same steps with more detail on troubleshooting.
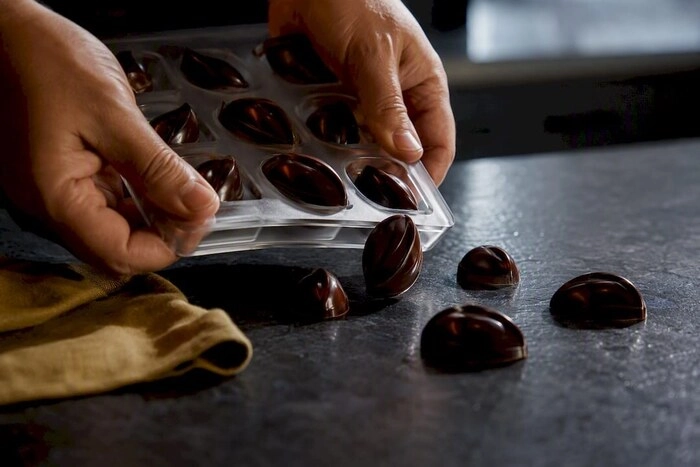
Polycarbonate moulds give a mirror finish and crisp, sharp detail, which is why professional chocolatiers use them almost exclusively for bonbons and shells. The tradeoff is that they demand a clean, dry, well-polished cavity, because any residue, water droplet, or fingerprint transfers straight onto the chocolate’s surface. JB Prince’s mould guidance recommends polishing polycarbonate with a lint-free cloth immediately before pouring, not the night before.
Silicone moulds are far more forgiving. They flex, which makes demoulding almost foolproof, and they tolerate a slightly less perfect prep routine. The finish is duller than polycarbonate, so silicone suits bars, novelty shapes, and everyday treats better than showpiece bonbons.
A few habits improve results with either material:
Filling technique depends on what you are making. For solid pieces, pour tempered chocolate to the brim and tap the mould firmly on the worktop several times to force air bubbles up and out. For hollow shells with a filling, coat the cavity, invert it over a tray to let the excess drain, scrape the rim clean, then pipe your filling once the shell has set and cap it with a final thin layer of chocolate.
Pro Tip: If a piece won’t budge, resist the urge to force it. A 5 minute stint in the freezer usually shrinks the chocolate just enough to pop free cleanly.
Bloom, the dull grey-white film that sometimes appears on set chocolate, almost always means the temper was lost during setting, usually from a temperature swing. The fix is to remelt and retemper properly rather than trying to polish it away. Grainy or soft centres usually point to overheating during melting or moisture contamination, so double-check your double boiler technique first. When topping up shells, only add as much chocolate as you need, since scraped-off excess can be remelted and reused without any real loss.
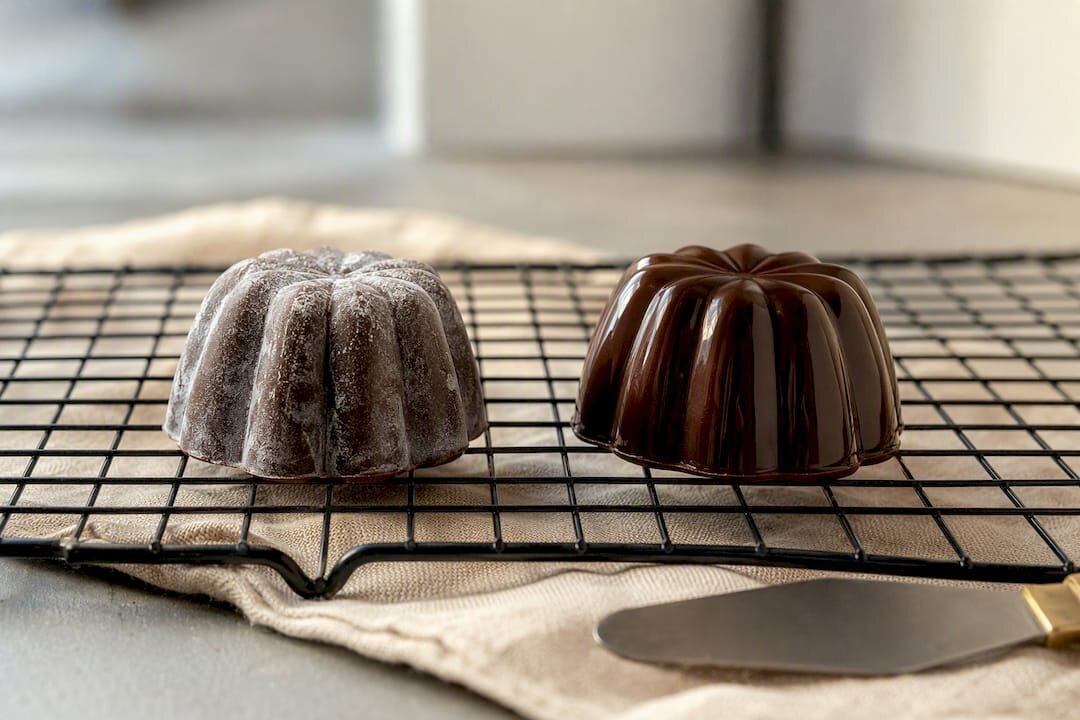
Store finished pieces at 12°C to 20°C with humidity kept below 50%, away from strong-smelling foods and direct sunlight, both of which chocolate absorbs and reflects, respectively, faster than most people expect. A guide on how and where to store chocolate covers the reasoning behind those figures in more detail.
Condensation is the real enemy when moving chocolate between temperatures. Let refrigerated pieces come up to room temperature slowly, still inside a sealed container, rather than exposing cold chocolate to warm, humid air, which fogs the surface instantly.
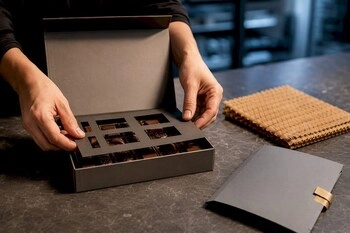
For presentation:
There are practical, stepwise guidance resources for home bakers working through exactly this kind of project, from tempering chocolate properly to preparing modelling chocolate for decorating. Those resources sit alongside quick reference material like the chocolate tip on tempering for readers who just need a fast reminder mid-recipe.
Beyond the how-to content, an online supplier stocks the ingredients and accessories that make a moulding project realistic in a home kitchen, from couverture callets through to thermometers, spatulas, and finishing tools. The aim throughout is the same one this article has followed: give you a genuine choice between the professional route and the easier one, rather than pretending only one exists.
Most guides push tempering as the only serious option and treat compound coating as a lesser, almost embarrassing shortcut. That framing does beginners a disservice. A first batch of wonky, slightly dull chocolates made from candy melts that you actually finish and enjoy beats a batch of couverture ruined halfway through the seed method, thrown out in frustration.
The conventional advice also underplays how much mould quality matters compared with ingredient choice. A cheap, scratched polycarbonate mould will dull even perfectly tempered couverture, while a decent silicone mould can make compound coating look genuinely presentable. If you are choosing where to spend your first budget, spend it on a good mould before you spend it on premium chocolate.
Prioritise one skill at a time. Learn to melt without seizing first. Then learn demoulding and troubleshooting. Only once both are second nature should tempering enter the picture, because trying to master all three in one afternoon is exactly why so many first attempts end in a bin.
— Andraz
An online supplier offers a direct source for the ingredients this guide has been describing, rather than sending you hunting across several shops for couverture callets, a decent thermometer, and a mould that actually releases cleanly. The baking accessories range covers the thermometers, spatulas, and mould-care tools this guide recommends, while a Basic pastry package bundles core ingredients together for anyone starting their first moulding project without wanting to buy everything separately. If you would rather build a broader kit in one purchase, a Large Confectionery Bundle covers repeated projects rather than a single batch. Browse the accessories range now and pick the pieces that match the method you have chosen, tempered couverture or no-temper coating, and get your first mould filled this week.
Couverture chocolate, ideally in callet or feve form, gives the best gloss and snap once tempered; compound coating (candy melts) is a solid no-temper alternative for beginners.
Both couverture and compound coating melt well for moulding, but couverture needs tempering afterwards while compound coating can be poured straight after melting.
You can with compound coating, since it sets fine without tempering, but plain melted couverture without tempering will set dull, soft, and prone to bloom.
Yes, modelling chocolate is edible since it is simply chocolate combined with glucose or corn syrup, though it is designed for shaping and decorating rather than eating on its own.


 Confectionery tips



 Slovenščina
 Hrvatski
 Deutsch
 Italiano
 Česky
 Polski
 Magyar
 Français
 Slovák
 Nederlands
 Español