 info@bamchocolate.com
  Login
Login 

 en
en 
 BAM Cake converter
  Login
Login Claudia
Avtorica vsebin


 Reading time:
10 minutes
Reading time:
10 minutes 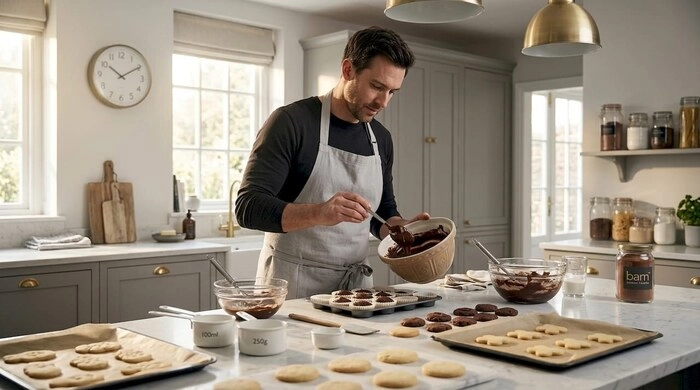
Learn how to bake for events with our practical guide! Master efficient batch baking and streamline your process for perfect treats every time.
TL;DR:
- Effective batch baking relies on a detailed schedule, proper recipe grouping, and thorough cooling and packaging plans.
- Choosing recipes that scale safely, such as cookies and muffins, helps prevent structural issues and minimizes waste at large events.
Baking for events, known professionally as batch baking or production baking, means producing quality baked goods in planned quantities to serve a crowd without sacrificing taste or presentation. The difference between a stressful bake day and a smooth one comes down to three things: a written schedule, the right recipes, and a clear cooling and packaging plan. Efficient batch baking requires grouping recipes by shared ingredients, oven temperature, and technique, then scheduling with time blocks to prevent bottlenecks. Whether you are preparing cupcakes for celebrations, setting up baking events for a fundraiser, or baking a spread of easy dessert recipes for gatherings, the same principles apply.
A production schedule is the single most important document you will create before bake day. Without one, you will find yourself waiting for the oven while a finished batch sits cooling on the counter and raw dough dries out on the bench. Write out every task in time blocks, from mixing and baking through to cooling and packaging, and assign realistic durations to each.
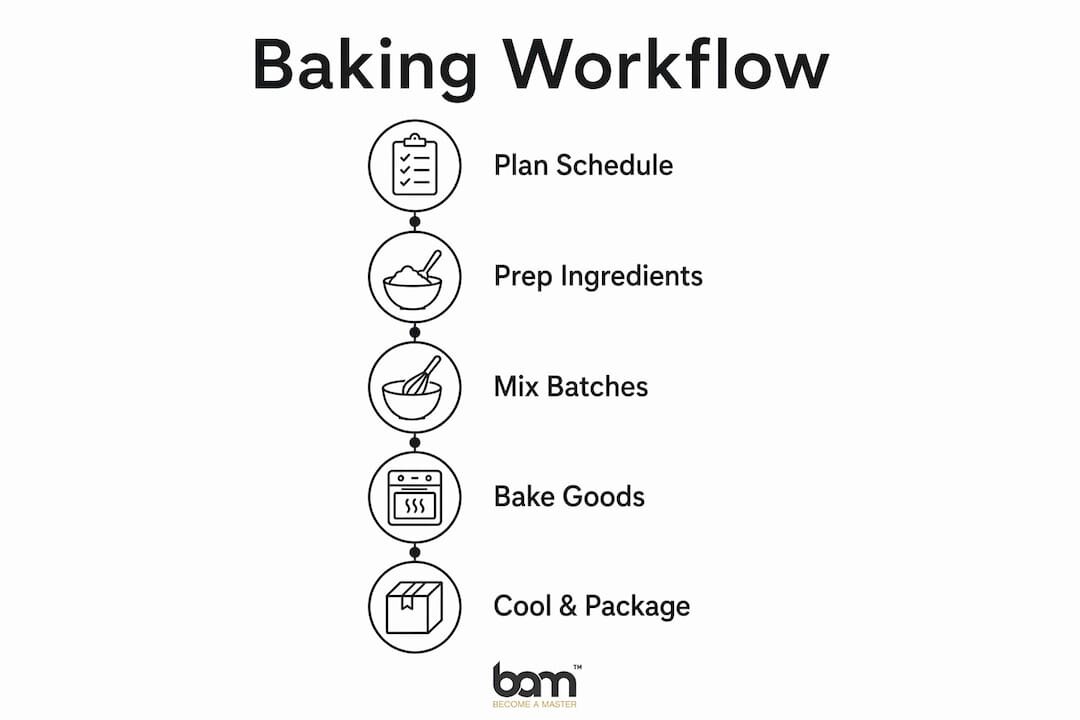
The first step is to group your recipes logically. Recipes that share oven temperatures, mixing methods, or base ingredients should be baked in sequence. This reduces the number of times you adjust oven settings and means you can use the same bowls and tools across multiple batches without washing between every single step.
Here is a practical production schedule structure to follow:
Pro Tip: Stay one mix ahead of the oven at all times. While one batch bakes, the next should already be mixed and ready. This single habit removes the most common dead time from a bake day.
The table below outlines a basic time allocation guide for a medium-scale event bake:
| Task | Suggested time block |
|---|---|
| Mise en place (dry ingredients, tins) | Evening before |
| First oven batch (cakes, loaves) | 8:00 to 10:00 |
| Second oven batch (cookies, muffins) | 10:00 to 12:00 |
| Cooling all items | 12:00 to 14:00 |
| Packaging and labelling | 14:00 to 16:00 |
Not every recipe scales well, and choosing the wrong ones for a large bake is one of the most common mistakes when preparing baked goods for special occasions. Simple drop cookies, muffins, brownies, and bar cookies are the safest choices for scaling up. They tolerate batch size increases well and do not require the structural precision that layer cakes or enriched yeast breads demand.
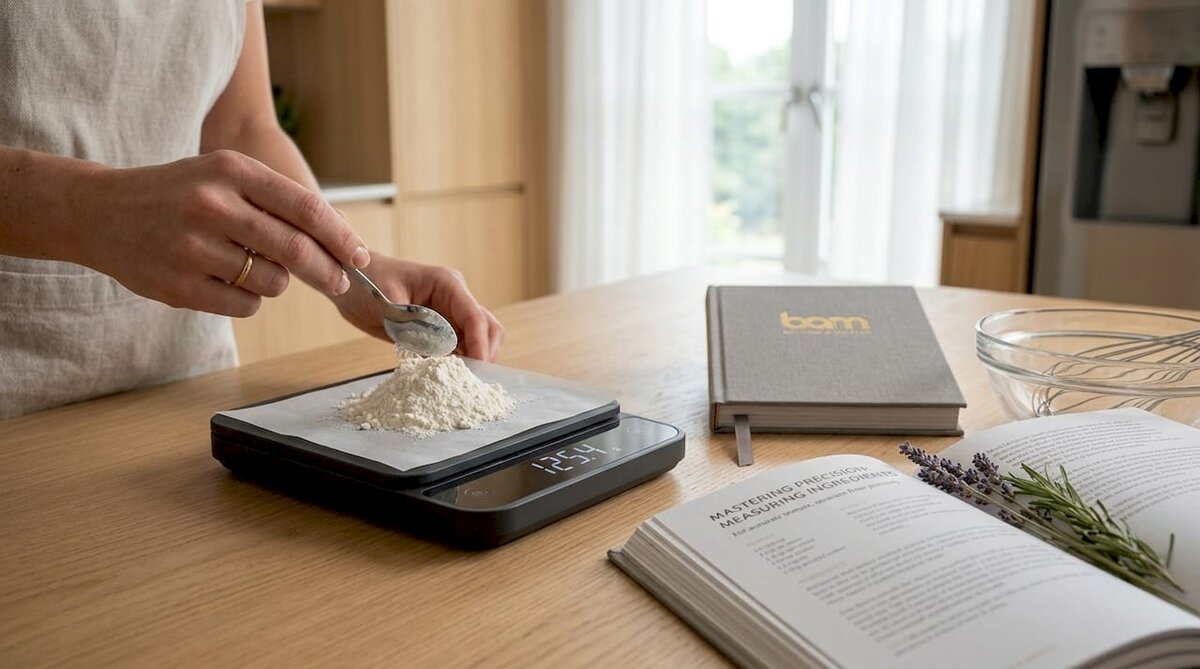
Layer cakes and delicate sponges are better made in separate, standard-sized batches rather than scaled up. The chemistry of a sponge cake depends on precise ratios, and doubling or tripling a recipe increases the risk of uneven baking and collapsed centres. Bake two separate cakes rather than one enormous one.
Scaling gluten-free recipes requires particular care. Gluten-free large batches need precise binder adjustments. Use slightly less xanthan gum or guar gum than a direct multiplication would suggest, as overuse leads to a gummy, dense texture that worsens as the batch size grows.
For quantity planning, Martha Stewart’s bake-sale guidance recommends targeting 15 to 30 items per dessert type. This range gives you enough variety to satisfy different preferences without overproducing any single item and risking waste.
| Recipe type | Scaling safety | Notes |
|---|---|---|
| Drop cookies | High | Scale freely up to 4x with no adjustments |
| Muffins and cupcakes | High | Scale up to 3x; check baking time per batch |
| Brownies and bar cookies | High | Scale up to 4x; adjust tin size accordingly |
| Layer cakes | Low | Bake in separate standard batches |
| Gluten-free recipes | Medium | Reduce binders slightly per batch |
| Yeast breads | Low | Proof time varies; batch separately |
When planning variety, always include at least one allergy-friendly option. Nut-free and dairy-free items widen your audience and are especially important at bake-offs or school events. Label every item clearly with its ingredients.
Pro Tip: For bake-offs or tastings, pre-portion your items into bite-sized pieces before the event. Numbered blind tasting cards and pre-portioned samples reduce friction and increase participation significantly.
Cooling is the phase most bakers underestimate, and it is the one most likely to ruin an otherwise well-executed bake. Failing to allocate proper cooling time causes soggy or crumbly goods that affect both presentation and taste. The rule is simple: nothing gets packaged until it is completely cool to the touch.
Specific cooling times to follow:
For packaging, follow this sequence:
Refrigeration is not always the right choice. For most cakes and cookies, cold air dries out the crumb. Freezing preserves freshness far better for items baked more than two days ahead. Wrap individual portions in cling film before placing them in a freezer bag to prevent freezer burn. For more on keeping baked goods at their best, the Bamchocolate guide on extending cake shelf life covers timing and holding methods in detail.
Pro Tip: Use a “one in, one out” rule for your cooling rack. As soon as a batch is cool enough to package, move it off the rack immediately to make space for the next batch. This keeps your kitchen moving and prevents the cooling phase from becoming a bottleneck.
The most common failure in event baking is not a recipe problem. It is a logistics problem. Successful bake sales depend on volunteer coordination and task delegation more than on perfect baking. Assign specific roles: one person mixes, one monitors the oven, one handles cooling and packaging. This division of labour prevents the chaos that comes from everyone doing everything.
Key practices to follow:
Pro Tip: Set a firm cut-off time for baking the day before the event. Anything not baked by that point should be dropped from the menu. Last-minute baking under pressure produces inconsistent results and increases the risk of serving something underbaked.
Successful event baking is a workflow challenge first and a baking skill second. Scheduling, cooling time, and clear labelling determine the outcome as much as the recipes themselves.
| Point | Details |
|---|---|
| Plan before you bake | Write a production schedule with time blocks covering every stage from prep to packaging. |
| Choose scalable recipes | Cookies, muffins, and bar cookies scale safely; layer cakes and yeast breads are better made in separate batches. |
| Respect cooling times | Cookies need 30 minutes, cupcakes 45 minutes, and gluten-free loaves up to two hours before packaging. |
| Label for allergens | Clear allergen labelling on every item is non-negotiable for safety and attendee confidence. |
| Delegate tasks | Assigning specific roles to helpers prevents bottlenecks and improves the quality of the final spread. |
The part of event baking that trips people up most consistently is not the baking itself. It is the assumption that cooling and packaging will take care of themselves. I have seen well-planned bake days fall apart in the final two hours because no one allocated time for those phases. Build them into your schedule as fixed blocks, not afterthoughts.
The second thing I would say is that duplicate equipment changes everything. Two sets of tins, two cooling racks, and two mixing bowls mean you are never waiting for equipment to be free. The upfront cost is modest compared to the time saved across a full bake day.
Helpers are worth more than extra equipment. One person who handles packaging while you bake doubles your throughput without you baking a single extra item faster. Coordination, not speed, is what separates a smooth event bake from a stressful one. If you are baking for a gathering of any size, treat it as a small production operation and plan accordingly.
— Andraz
Bamchocolate stocks a range of baking accessories designed to support high-volume home baking, from precision tools to protective equipment. The BAM Baking Glove is built for handling multiple hot trays safely during long bake sessions, reducing the risk of burns when oven turnover is fast. For recipe inspiration across a full event spread, the 101 BAM pastry recipe collection covers everything from classic sponges to allergy-friendly options. Whether you are setting up a bake sale, preparing for a celebration, or running a bake-off, Bamchocolate has the tools and resources to support the whole process.
Most baked goods can be prepared two to three days ahead and stored at room temperature in sealed containers. For items needed more than three days out, freeze them individually wrapped and defrost at room temperature on the day of the event.
Martha Stewart’s bake-sale guidance recommends 15 to 30 items per dessert type as a practical target. Add a 15% buffer on top of your expected headcount to account for breakages and sampling.
Drop cookies, muffins, and brownies scale safely up to three or four times the original recipe. Layer cakes and yeast breads are better made in separate standard batches, as scaling these recipes increases the risk of uneven baking and structural failure.
Print labels for every item listing the key allergens present, including gluten, dairy, eggs, and nuts. Numbered tasting cards at bake-offs help attendees track what they have tried and flag any concerns before eating.
Underestimating cooling and packaging time is the most common error. These two phases regularly take longer than expected and, if not scheduled as dedicated blocks, cause the entire bake day to run late.


 Confectionery tips



 Slovenščina
 Hrvatski
 Deutsch
 Italiano
 Česky
Česky
 Polski
 Magyar
 Français
 Slovák
 Nederlands
 Español