 info@bamchocolate.com
  Login
Login 

 en
en 
 BAM Cake converter
  Login
Login Claudia
Avtorica vsebin


 Reading time:
11 minutes
Reading time:
11 minutes 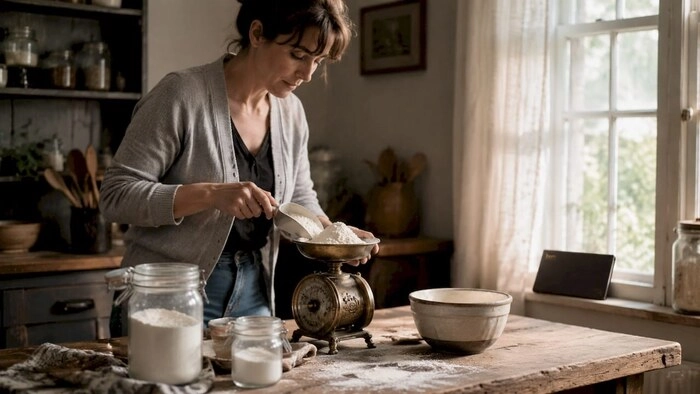
Master baking with our creating custom baking mixes guide. Control ingredients, save time, and create delightful treats for every occasion.
TL;DR:
- A custom baking mix combines dry ingredients prepared in advance for versatile use and fresher results. Proper measurement, thorough whisking, and clear labeling ensure consistent baking outcomes and easy sharing. Personalizing mixes with flavors and substitutions allows adaptability for dietary needs and enhances gift presentation.
A custom baking mix is a pre-blended dry ingredient base that you prepare in advance, store in your pantry, and use across multiple recipes. This creating custom baking mixes guide covers everything from core ingredients and equipment to storage, personalisation, and gifting. The appeal is straightforward: you control the quality of every ingredient, skip the stabilisers and artificial additives found in commercial mixes, and cut your prep time on busy baking days. Whether you are making pancakes on a Sunday morning or brownies for a friend, a well-made custom blend is the most practical tool in your kitchen.
The foundation of any reliable baking mix is a small set of dry ingredients measured with precision. All-purpose flour provides structure. Baking powder and baking soda deliver the rise. Salt balances flavour. Sugar adds sweetness and helps with browning. These five ingredients form the base of most DIY baking mix recipes, from pancake batters to quick breads.
Beyond the basics, optional additions create genuinely personalised baking recipes. Cocoa powder turns a plain mix into a chocolate brownie base. Powdered milk adds richness without requiring fresh dairy. Ground cinnamon, nutmeg, or cardamom shift a neutral mix towards spiced muffins or scones. Finely chopped nuts or dried fruit add texture, though these are better added at the baking stage rather than stored in the mix itself.
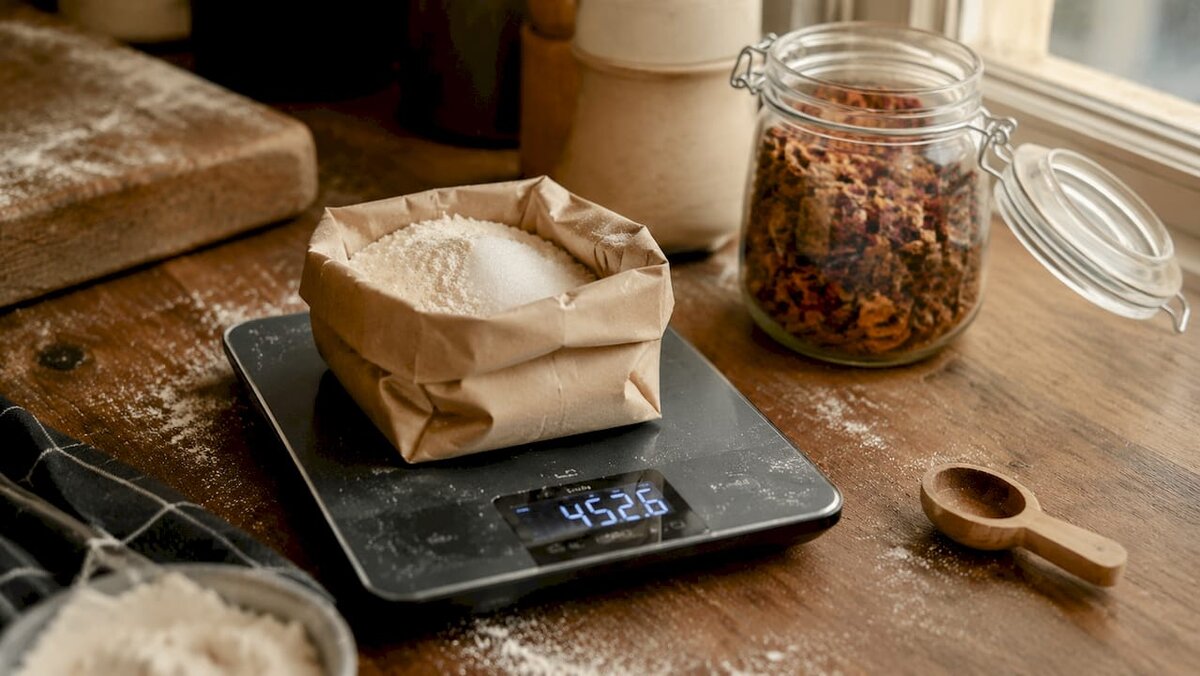
Digital scales and airtight containers are the two pieces of equipment that most directly affect mix quality and longevity. Scales give you accuracy that measuring cups cannot match. Airtight containers block moisture and keep leavening agents potent. A large mixing bowl and a good whisk complete the kit.
| Ingredient | Role in the mix |
|---|---|
| All-purpose flour | Provides structure and body |
| Baking powder | Primary leavening agent for rise |
| Baking soda | Secondary leavening; reacts with acidic ingredients |
| Salt | Balances sweetness and enhances flavour |
| Sugar | Adds sweetness and aids browning |
| Cocoa powder | Flavour addition for chocolate-based mixes |
| Powdered milk | Adds richness; useful in dairy-free adaptations |
Pro Tip: Buy baking powder and baking soda in small quantities and replace them every three months. Old leavening agents are the most common cause of flat, dense bakes.
A basic all-purpose baking mix takes about 10 minutes to prepare and yields 7–8 cups, which is enough for several batches of pancakes, quick breads, or biscuits. That yield makes the effort worthwhile. You prepare once and bake multiple times.
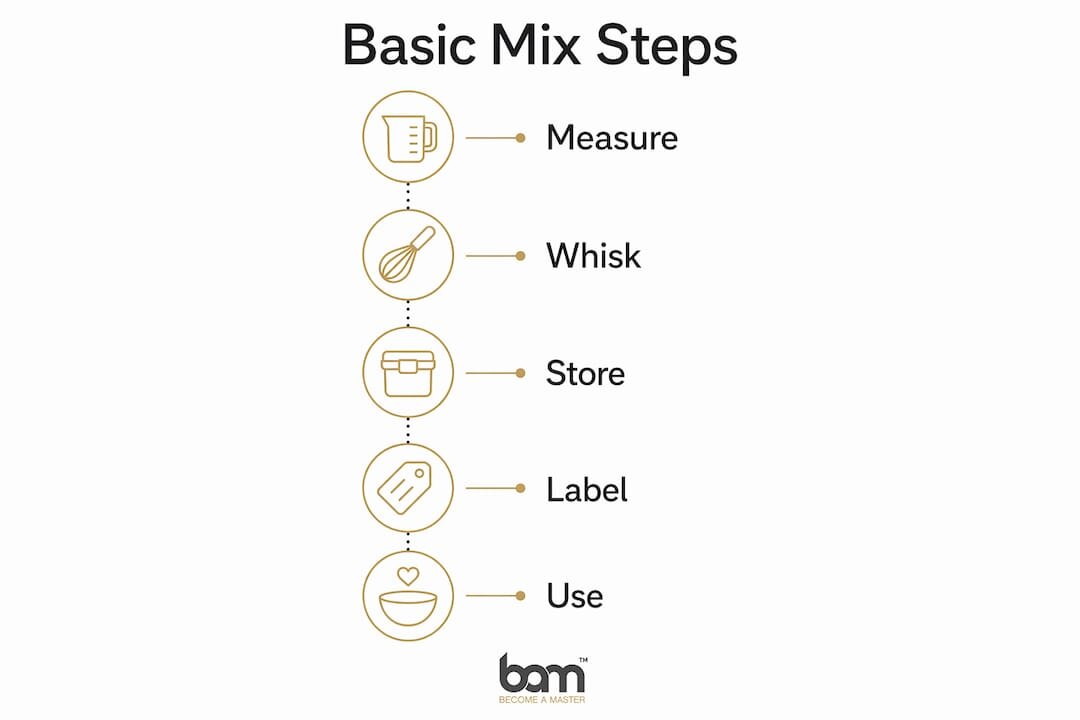
Follow these steps for a consistent result every time:
Homemade dry mixes stay fresh for 2–3 months in airtight containers at room temperature. That shelf life assumes a cool, dry storage spot away from direct sunlight. In warm or humid kitchens, refrigeration or freezing is the better choice, as heat degrades leavening agents faster than most bakers expect. A mix stored in a warm cupboard near the oven will lose its potency well before the three-month mark.
Pro Tip: Write the “use by” date directly on the label, not just the preparation date. It removes any guesswork when you reach for the container weeks later.
Labelling is more useful than it sounds. A clear label with the wet ingredients required, the baking temperature, and the yield means you can hand the mix to anyone in the household and get a consistent result. It also matters enormously if you plan to gift the mix.
Home bakers prefer making their own mixes to avoid stabilisers and artificial additives found in commercial products. That preference drives most of the interest in custom baking blends. The real advantage is that you can adapt the same base mix for different dietary needs without starting from scratch each time.
Flavour additions work best when they are dry and finely ground. Add one to two teaspoons of ground cinnamon or mixed spice for a warming autumn mix. Stir in two to three tablespoons of high-quality cocoa powder for a chocolate base. Vanilla powder, rather than liquid extract, blends evenly into dry mixes without clumping.
Texture adjustments follow the same logic. Replace a portion of all-purpose flour with oat flour for a denser, nuttier crumb. Add a tablespoon of cornflour to the mix for a more tender, cake-like texture in muffins and sponges.
Gluten-free flour blends, such as those based on rice flour or buckwheat, substitute directly for all-purpose flour in most mix recipes. The key difference is hydration. Gluten-free substitutions affect hydration and baking outcomes, so the wet ingredient ratios in your recipe instructions must be updated to reflect the change. A gluten-free mix that uses the same liquid quantities as a wheat-based mix will often produce a gummy or undercooked result.
For vegan adaptations, replace powdered milk with coconut milk powder or oat milk powder. These swap in at the same weight. You can find useful guidance on allergen-sensitive baking adaptations when working with plant-based ingredients. The dry mix itself rarely needs eggs, but your recipe card must specify a vegan egg substitute such as flaxseed meal or aquafaba.
| Mix type | Key substitution | Instruction update needed |
|---|---|---|
| Gluten-free | Rice or buckwheat flour blend | Increase liquid by 10–15% |
| Vegan | Coconut milk powder instead of powdered milk | Specify egg substitute on label |
| Low-sugar | Erythritol or coconut sugar | Note adjusted browning behaviour |
| High-protein | Add protein powder (unflavoured) | Reduce flour by equal weight |
Pro Tip: Always test a small batch of any adapted mix before making a large quantity. A single test bake saves you from wasting a full batch of expensive gluten-free flour.
Precise wet-to-dry ratios and gentle mixing are the two factors that separate a professional-quality bake from a tough, dense one. Overdeveloping gluten by mixing too vigorously is the most common mistake home bakers make when working with flour-based mixes. Mix wet and dry ingredients only until the batter just comes together.
Follow these practices for consistently good results:
Ingredient sequencing also matters. Thorough whisking of dry ingredients before adding any wet components ensures that leavening agents are evenly distributed throughout the batter. If baking powder sits in one corner of the mix, you get an uneven rise. For more detail on using leavening agents correctly, Bamchocolate has a practical reference on baking powder and baking soda technique.
Pro Tip: Rest your batter for five minutes after mixing. This short rest allows the leavening agents to activate and gives gluten time to relax, producing a lighter, more even bake.
A well-assembled baking mix jar is one of the most practical and well-received homemade gifts. The presentation matters, but the label is what makes it genuinely useful.
Choose jar sizes based on the mix volume. A 500ml jar suits a single-batch cookie or brownie mix. A 1-litre jar works for a pancake or muffin mix that yields multiple servings. Wide-mouth jars are easier to fill and to scoop from.
Layer ingredients by density for the best visual effect:
The label is the most critical part of a gifted mix. Labels on baking mix jars must list all wet ingredients required, baking instructions, yield, and storage tips to give the recipient everything they need. A jar with a beautiful label but incomplete instructions is frustrating to use. Write the instructions clearly, including oven temperature, tin size, and baking time.
Popular jar mix varieties include:
Tie a small card to the jar with a ribbon. Write the wet ingredients and method on the card in clear, numbered steps. This detail is what separates a thoughtful gift from a decorative jar that sits unused on a shelf.
A reliable custom baking mix requires precise dry ingredient ratios, thorough whisking, airtight storage, and clear labelling to deliver consistent results every time.
| Point | Details |
|---|---|
| Whisk dry ingredients thoroughly | Whisk for at least 30 seconds to distribute leavening agents evenly. |
| Store in airtight containers | Mixes stay fresh for 2–3 months at room temperature; refrigerate in warm climates. |
| Update labels for substitutions | Gluten-free or vegan changes affect hydration, so recipe instructions must reflect this. |
| Mix wet and dry gently | Fold ingredients just until combined to avoid overdeveloping gluten. |
| Label jars completely | Include wet ingredients, baking instructions, yield, and storage guidance on every jar. |
The part of custom baking mixes that most guides skip over is the label. Bakers spend time sourcing good flour, measuring carefully, and choosing the right jar. Then they write “brownie mix” on a sticky note and call it done. That is where the whole effort falls apart.
I have made this mistake myself. A mix I prepared for a friend sat unused for weeks because she was not sure how many eggs to add or what temperature to use. The mix was good. The label was useless. When I started treating the label as part of the recipe, the feedback changed completely.
The same principle applies to your own pantry. A jar with a full set of instructions means you can bake from it six weeks later without trying to remember the details. Climate matters too. If your kitchen runs warm in summer, move your mixes to the fridge in june and july. Leavening agents lose potency faster than most bakers realise, and a flat pancake is a disappointing start to any morning.
Experimenting with flavour additions is genuinely worth doing, but test one change at a time. Adding both a new spice and a new flour type in the same batch makes it impossible to know which variable caused the result. Keep the base consistent, change one thing, and bake a small test portion before committing to a full jar. That discipline produces better results faster than any recipe book.
— Andraz
Building a reliable custom baking mix starts with quality ingredients and the right tools. Bamchocolate stocks a full range of baking accessories and additives suited to home bakers working with custom blends, from measuring tools to specialist baking additions. For bakers who want a ready-made starting point, the BAM Basic pastry package brings together foundational confectionery ingredients in one bundle. If you are building mixes for gifting or want to add premium fillings and flavours to your jars, the BAM Confectionery set Creamy fillings and BAM Pastry set Exotic fillings offer gourmet options that elevate any homemade mix.
A custom baking mix is a pre-blended combination of dry ingredients, such as flour, leavening agents, salt, and sugar, prepared in advance for use across multiple recipes.
Homemade dry mixes stay fresh for 2–3 months in airtight containers at room temperature. Refrigeration or freezing extends shelf life in warm or humid conditions.
Yes. Substitute all-purpose flour with a gluten-free flour blend such as rice flour or buckwheat flour. Update the wet ingredient quantities on your label, as gluten-free flours affect hydration and require adjusted liquid ratios.
Whisking dry ingredients for at least 30 seconds distributes baking powder and baking soda evenly throughout the mix. Uneven distribution causes patchy rise and inconsistent texture in the finished bake.
A complete label lists all wet ingredients required, step-by-step baking instructions, the yield, oven temperature, tin size, and storage guidance. This information gives anyone using the mix everything they need for a successful result.



 Chocolate novelties



 Slovenščina
 Hrvatski
 Deutsch
 Italiano
 Česky
Česky
 Polski
 Magyar
 Français
 Slovák
 Nederlands
 Español