 info@bamchocolate.com
 Login


 en

 BAM Cake converter
 Login
Claudia
Avtorica vsebin


 Reading time:
9 minutes
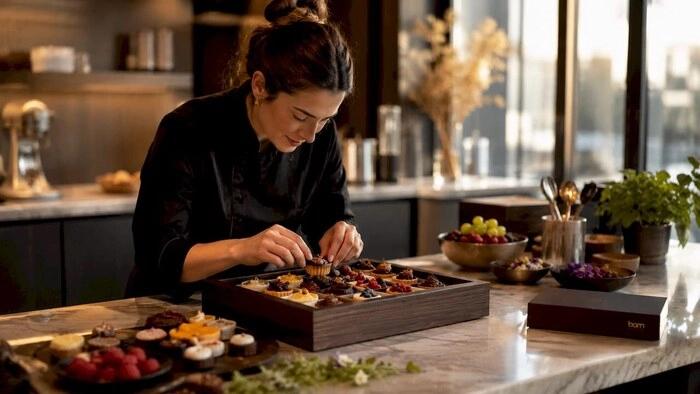
Learn how to create dessert boxes that impress! This complete guide covers themes, portions, and tips for delightful presentations.
TL;DR:
- A dessert box is a curated collection of bite-sized sweets designed to create an enjoyable unboxing experience. Choosing the right variety, packaging, and presentation enhances its visual appeal and overall impact as a gift.
A dessert box is a curated collection of bite-sized sweet treats, arranged attractively in a single container and designed to delight the recipient from the moment they lift the lid. Knowing how to create dessert boxes well means going beyond simply packing sweets into a container. The unboxing experience depends on variety, visual appeal, and portion control working together. Whether you are preparing a gift for a birthday, a wedding favour, or a personal treat, the principles of a well-built dessert box are the same. Bamchocolate has guided home bakers and confectionery enthusiasts through exactly this process, and this guide covers every step.
The first decision is how many items to include. A standard dessert box holds 4–6 item types, with 2–3 small pieces of each. That range gives enough variety to feel generous without overwhelming the recipient or making the box look cluttered.
Portion planning changes depending on who the box is for. A single-person box works well with 4 item types and 2 pieces each. A couple’s box benefits from 5–6 types with 2–3 pieces. A family box calls for larger quantities of each type rather than more variety, since too many different items can feel chaotic rather than curated.
Thematic cohesion is what separates a memorable box from a random assortment. Match the box style to the occasion: a rustic kraft-paper aesthetic suits autumn celebrations and informal gifts, a clean white-and-gold palette fits weddings and corporate gifting, and bold colours with playful patterns work for children’s birthdays. Every element, from the liner colour to the ribbon, should reinforce the theme.
Pro Tip: Treat the box as a curated tasting menu, not a leftover collection. Every item should earn its place.
The container is as important as the contents. Three main formats suit dessert boxes: pre-made rigid boxes, flat-pack kraft boxes, and DIY hinged-lid boxes. Each has a different assembly method, cost point, and visual result.
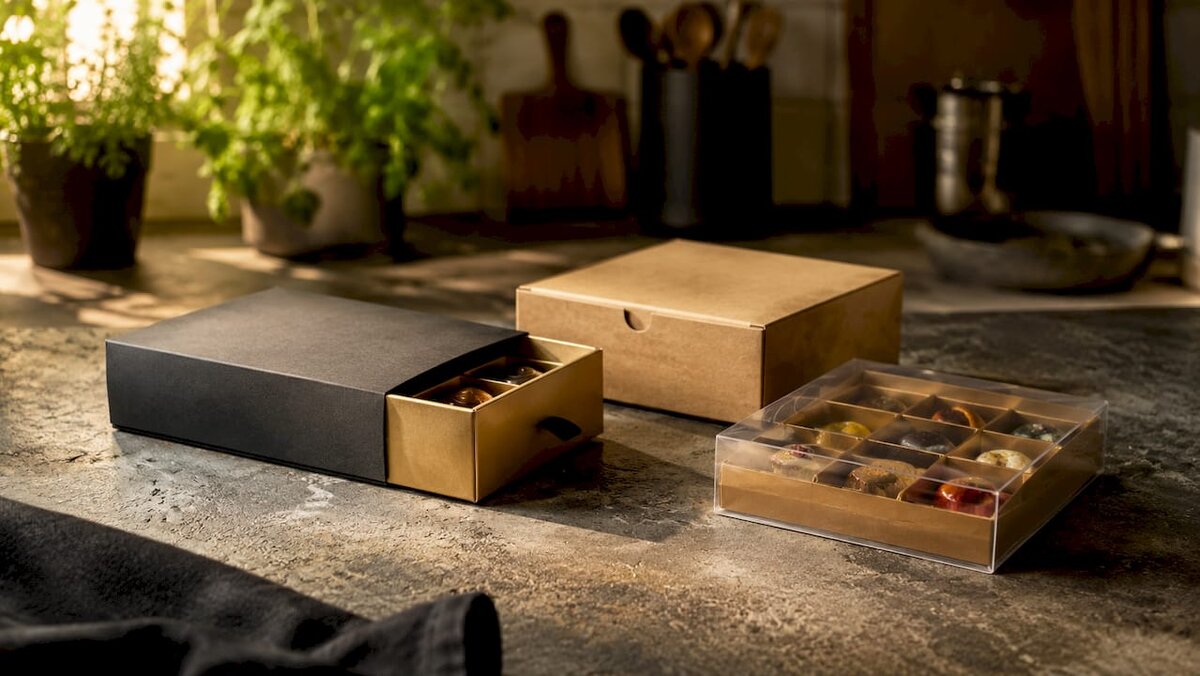
Pre-made rigid boxes arrive ready to fill. They offer the cleanest finish and the most protection, making them ideal for posting or for premium gifts. Flat-pack kraft boxes are affordable, widely available, and easy to customise with stamps, stickers, or paint. DIY hinged-lid boxes, built from cardstock and decorative paper, can be assembled in about 10 minutes and are a strong choice for last-minute projects.
Food safety governs material choice. Every box, liner, and divider that touches the desserts must be food-safe. Uncoated kraft paper, food-grade cellophane, and parchment liners all meet this standard. Avoid printed papers with solvent-based inks on surfaces that contact food directly.
Customisation options include:
Pro Tip: Use food-safe sturdy boxes with fitted lids. A box that shifts in transit crushes your presentation before the recipient even sees it.
The best dessert box recipes produce items that are bite-sized, structurally sound, and flavourful at room temperature. Cookies, mini brownies, truffles, macarons, and small shortbread rounds all meet these criteria. Mousse, fresh cream cakes, and anything requiring refrigeration are harder to manage and limit your gifting options.
Homemade components consistently outperform shop-bought in taste and presentation. When using a box cake mix as a base, swap water for milk and add an extra egg and a teaspoon of vanilla extract. These three changes improve both flavour depth and texture, producing a result that tastes genuinely homemade.
Brownies are one of the most practical choices for a dessert box. Bake them in an 8-inch pan, then cut into 2-inch squares for neat, uniform bites. Finish each square with a chocolate drizzle and a pinch of sprinkles for visual impact. The Bamchocolate Quick Dessert set provides a reliable base for several box-ready recipes.
Flavour and texture variety within the box matters as much as individual recipe quality. A box containing only chocolate items, however good each one is, feels one-dimensional. Aim for:
For recipe scaling, use a simple ratio: if your standard brownie recipe fills a 9x13-inch pan, halving it fills an 8-inch square pan and produces roughly 16 two-inch bites. That quantity fills two standard dessert boxes with 8 brownie pieces each, leaving room for 3–5 other item types.
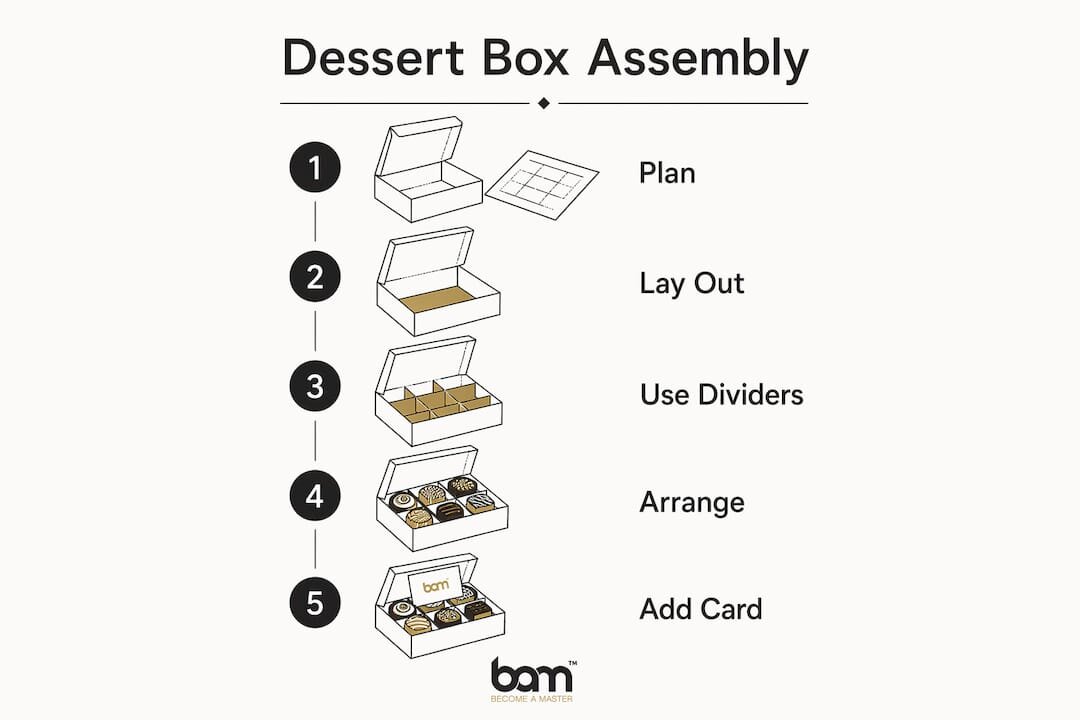
Assembly is where planning becomes visible. Lay out all your desserts before placing a single item in the box. This lets you check colour distribution, confirm that sizes fit the grid, and adjust the arrangement before anything is committed.
Using dividers, parchment, or liners prevents items from shifting, crushing, or transferring flavours onto each other. Cupcake inserts work well for round items like truffles and macarons. Folded parchment strips create quick dividers for rectangular items like brownies and shortbread.
Arrange for visual variety. Place contrasting colours next to each other: a dark chocolate truffle beside a pale lemon shortbread reads better than two similarly coloured items side by side. Vary heights where possible by using small paper cups or folded card to raise certain items slightly.
Finishing touches that add impact:
Pro Tip: Include a small card with storage instructions and a best-before date. Recipients appreciate the guidance, and it protects the quality of your work.
The Bamchocolate Confectionery set Desserts in a cone is a practical example of how pre-portioned confectionery sets simplify the assembly process for more elaborate presentations.
Shelf life is the most overlooked factor in dessert box planning. Cookies improve overnight as flavours meld, making them ideal for boxes assembled a day ahead. Mousse and fresh cream items require consumption within 48 hours. Mixing these two categories in one box creates a mismatch: by the time the recipient gets to the mousse, it may already be past its best.
The safest approach for gifting or posting is to build the box entirely from ambient-stable items. Cookies, brownies, truffles made with ganache, and shortbread all travel well and hold quality for 3–5 days at room temperature when properly packaged.
For boxes that include perishable items:
Mixing desserts with significantly different shelf lives risks spoilage and damages the eating experience. Plan your contents so every item in the box peaks at the same time.
Common mistakes include packing items while still warm (condensation ruins texture), using boxes that are too large (items shift and break), and omitting storage instructions (recipients keep perishables at room temperature by mistake). Each of these is easy to avoid with a short checklist before you seal the box.
A well-built dessert box combines a curated selection of 4–6 bite-sized treats, food-safe packaging with dividers, and a cohesive theme that matches the occasion.
| Point | Details |
|---|---|
| Plan portions carefully | Aim for 4–6 item types with 2–3 pieces each for balance and variety. |
| Match packaging to occasion | Choose box style, colour, and finish to reinforce the theme of the gift. |
| Select shelf-stable recipes | Build boxes from ambient-stable items like cookies, brownies, and truffles for safe gifting. |
| Assemble for visual contrast | Alternate colours and textures in the layout to maximise presentation impact. |
| Label clearly | Always include storage instructions and a best-before date for the recipient. |
I have seen a lot of dessert boxes, and the ones that genuinely delight people share one quality: every detail looks intentional. Not expensive. Not elaborate. Intentional.
The mistake most people make is focusing entirely on the recipes and treating the packaging as an afterthought. A beautifully baked brownie placed loose in a plain box with no liner, no label, and no note lands flat. The same brownie in a kraft box with a parchment liner, a handwritten tag, and a simple ribbon creates a completely different reaction. The food did not change. The experience did.
Thematic cohesion is the other thing that separates good boxes from great ones. When the box colour, the liner, the ribbon, and the flavour profile all point in the same direction, the recipient feels that someone thought about them specifically. That feeling is the point of a chocolate gift set or a curated dessert box. It is not just about the sweets.
My practical advice: build your first box as a test run for yourself. Eat from it over two days and note what holds up, what softens too quickly, and what you would change. That single test eliminates most of the common problems before a real recipient ever opens the box.
— Andraz
Bamchocolate stocks the baking ingredients and confectionery tools that make dessert box preparation straightforward. The baking accessories range covers everything from decorating supplies to confectionery sets suited to box-ready treats. For bakers who want a structured starting point, the BAM Basic pastry package and the BAM Large Confectionery Bundle both provide a curated selection of ingredients across multiple dessert categories. Bamchocolate also offers creamy fillings and fruit fillings that add flavour variety to any box without requiring complex preparation.
A standard dessert box holds 4–6 item types, with 2–3 small pieces of each type. This range provides variety without overcrowding the box.
Cookies, mini brownies, truffles, shortbread, and macarons are the most practical choices. They are structurally sound, flavourful at room temperature, and shelf-stable for 3–5 days.
Use parchment liners and dividers to separate items, then arrange by alternating colours and textures. Lay out all items before placing them to confirm the layout works before committing.
Ambient-stable items like cookies and brownies last 3–5 days at room temperature in a sealed box. Perishable items such as mousse should be consumed within 48 hours.
A DIY hinged-lid box made from cardstock can be assembled in approximately 10 minutes. Pre-made kraft boxes require no assembly and are a faster option for last-minute gifts.


 Chocolate novelties


 Slovenščina
 Hrvatski
 Deutsch
 Italiano
 Česky
 Polski
 Magyar
 Français
 Slovák
 Nederlands
 Español